
My Intel i7-13700K Died: An Undervolting Adventure
My Intel i7-13700K Cooked Itself: The Silver Lining of Undervolting
It’s a moment every PC enthusiast dreads: your trusty processor gives up the ghost. That’s exactly what happened to my Intel I7 13700K. One day, it was powering through tasks, and the next, it was, for lack of a better term, cooked. The culprit? Not user error, but Intel's aggressive factory voltage settings that prioritize peak performance benchmarks over thermal safety and longevity. Despite building PCs for years, I shouldn’t have needed to know about the arcane art of undervolting just to keep my expensive CPU from cooking itself. Yet here we are, with Intel shipping these high-performance chips with dangerously high default voltage settings that can lead to premature failure.
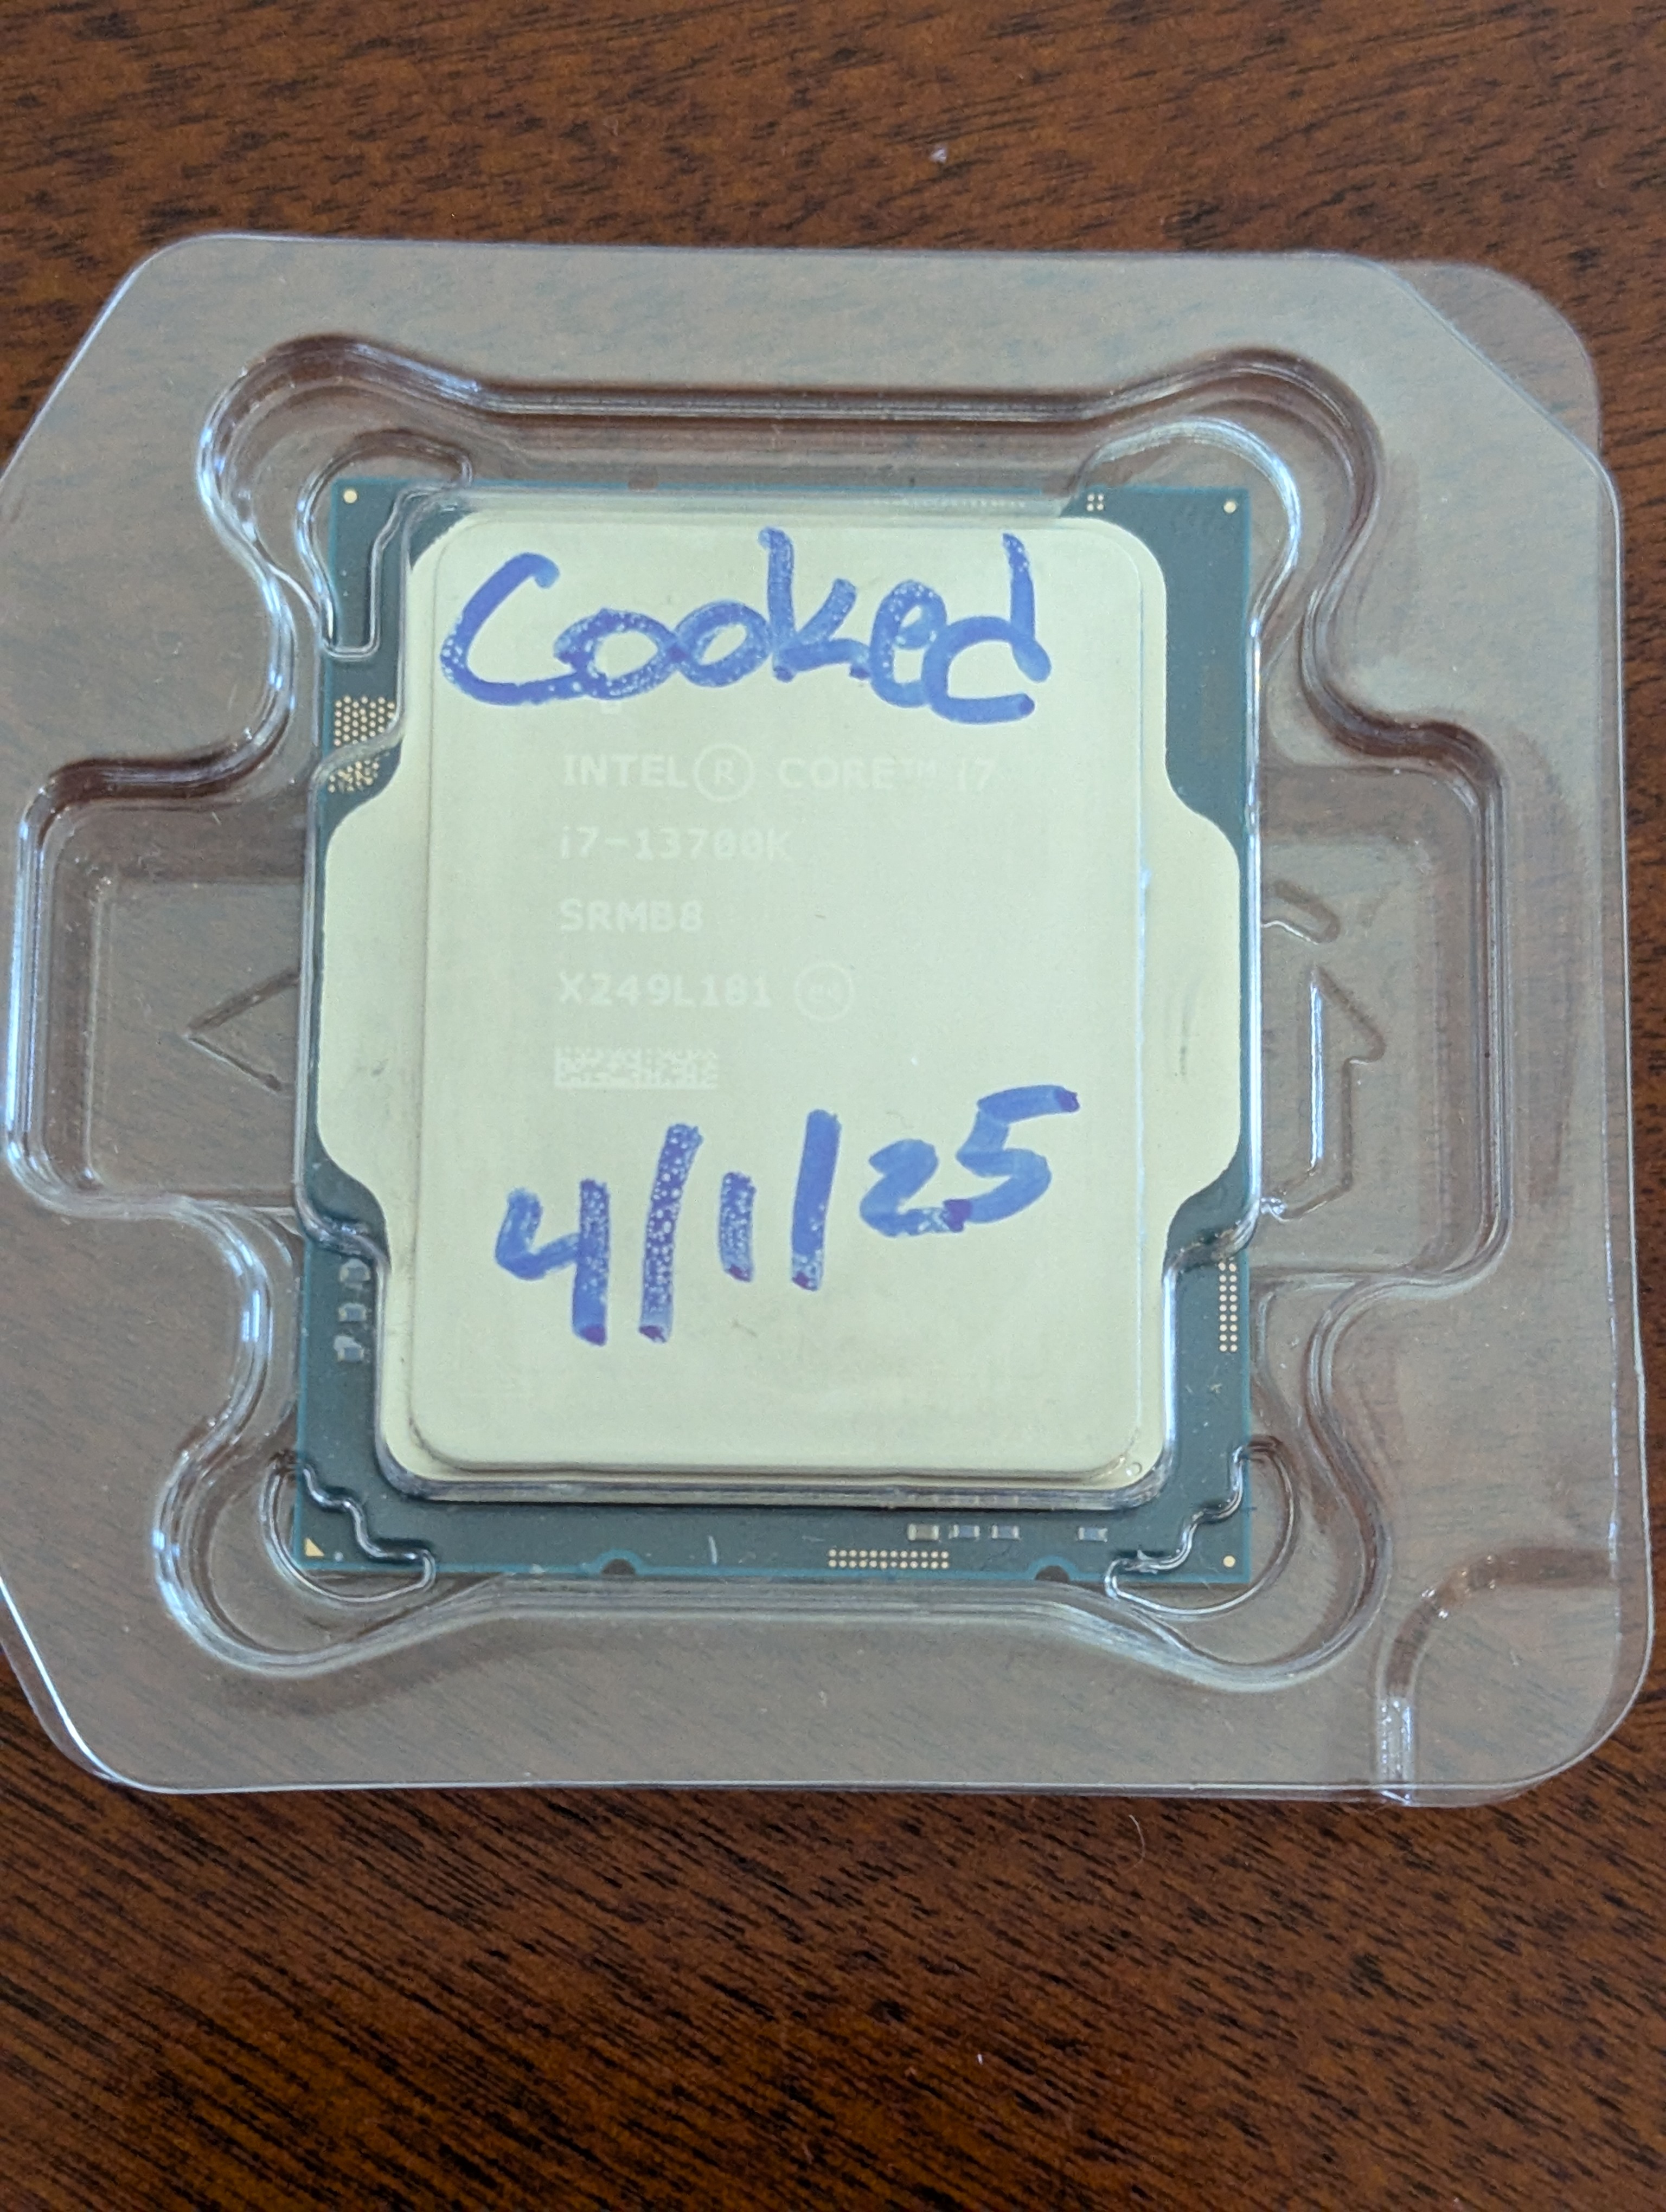
What started as a frustrating hardware failure turned into a fascinating learning experience. The silver lining was discovering undervolting – a technique that not only promised lower temperatures but, to my surprise, could also lead to better performance. This article chronicles my journey of taming a new Intel i7-13700K (may the old one rest in peace) through a series of BIOS tweaks.
My System Specifications
Before diving into the undervolting process, here’s the configuration of my system:
- CPU: Intel i7-13700K (replacement for the cooked one)
- Motherboard: ASUS Prime Z790-P WIFI
- RAM: G.SKILL Ripjaws S5 DDR5-5600 64GB (2x32GB) — Model F5-5600J3636D32GX2-RS5K (Intel XMP)
- Cooling: CyberPowerPC DEEPCOOL Castle 240EX ARGB 240mm AIO Liquid CPU Cooling System w/ Copper Cold Plate (2 x Standard 120MM Fans) (clearly not enough for Intel’s factory settings!)
The Path to Undervolting
After my first CPU died, I spent considerable time researching what could have happened. That’s when I first learned about undervolting as a potential solution to high temperatures and thermal throttling in modern processors. Many forum posts and articles pointed to Intel’s aggressive factory voltage settings as a common culprit for shortened CPU lifespans.
When my replacement i7-13700K arrived, I immediately ran some benchmarks to see how it performed. To my alarm, the CPU was hitting 100°C under load with the default ASUS motherboard settings – despite using what should be adequate liquid cooling. This concerning temperature discovery led me back to exploring undervolting, but this time with a determination to implement it properly and document the results.
Initial CPU Performance: Brand New with Default Settings
Before making any adjustments, I wanted to establish a baseline for comparison. Here’s how the CPU performed right out of the box with default ASUS motherboard settings:
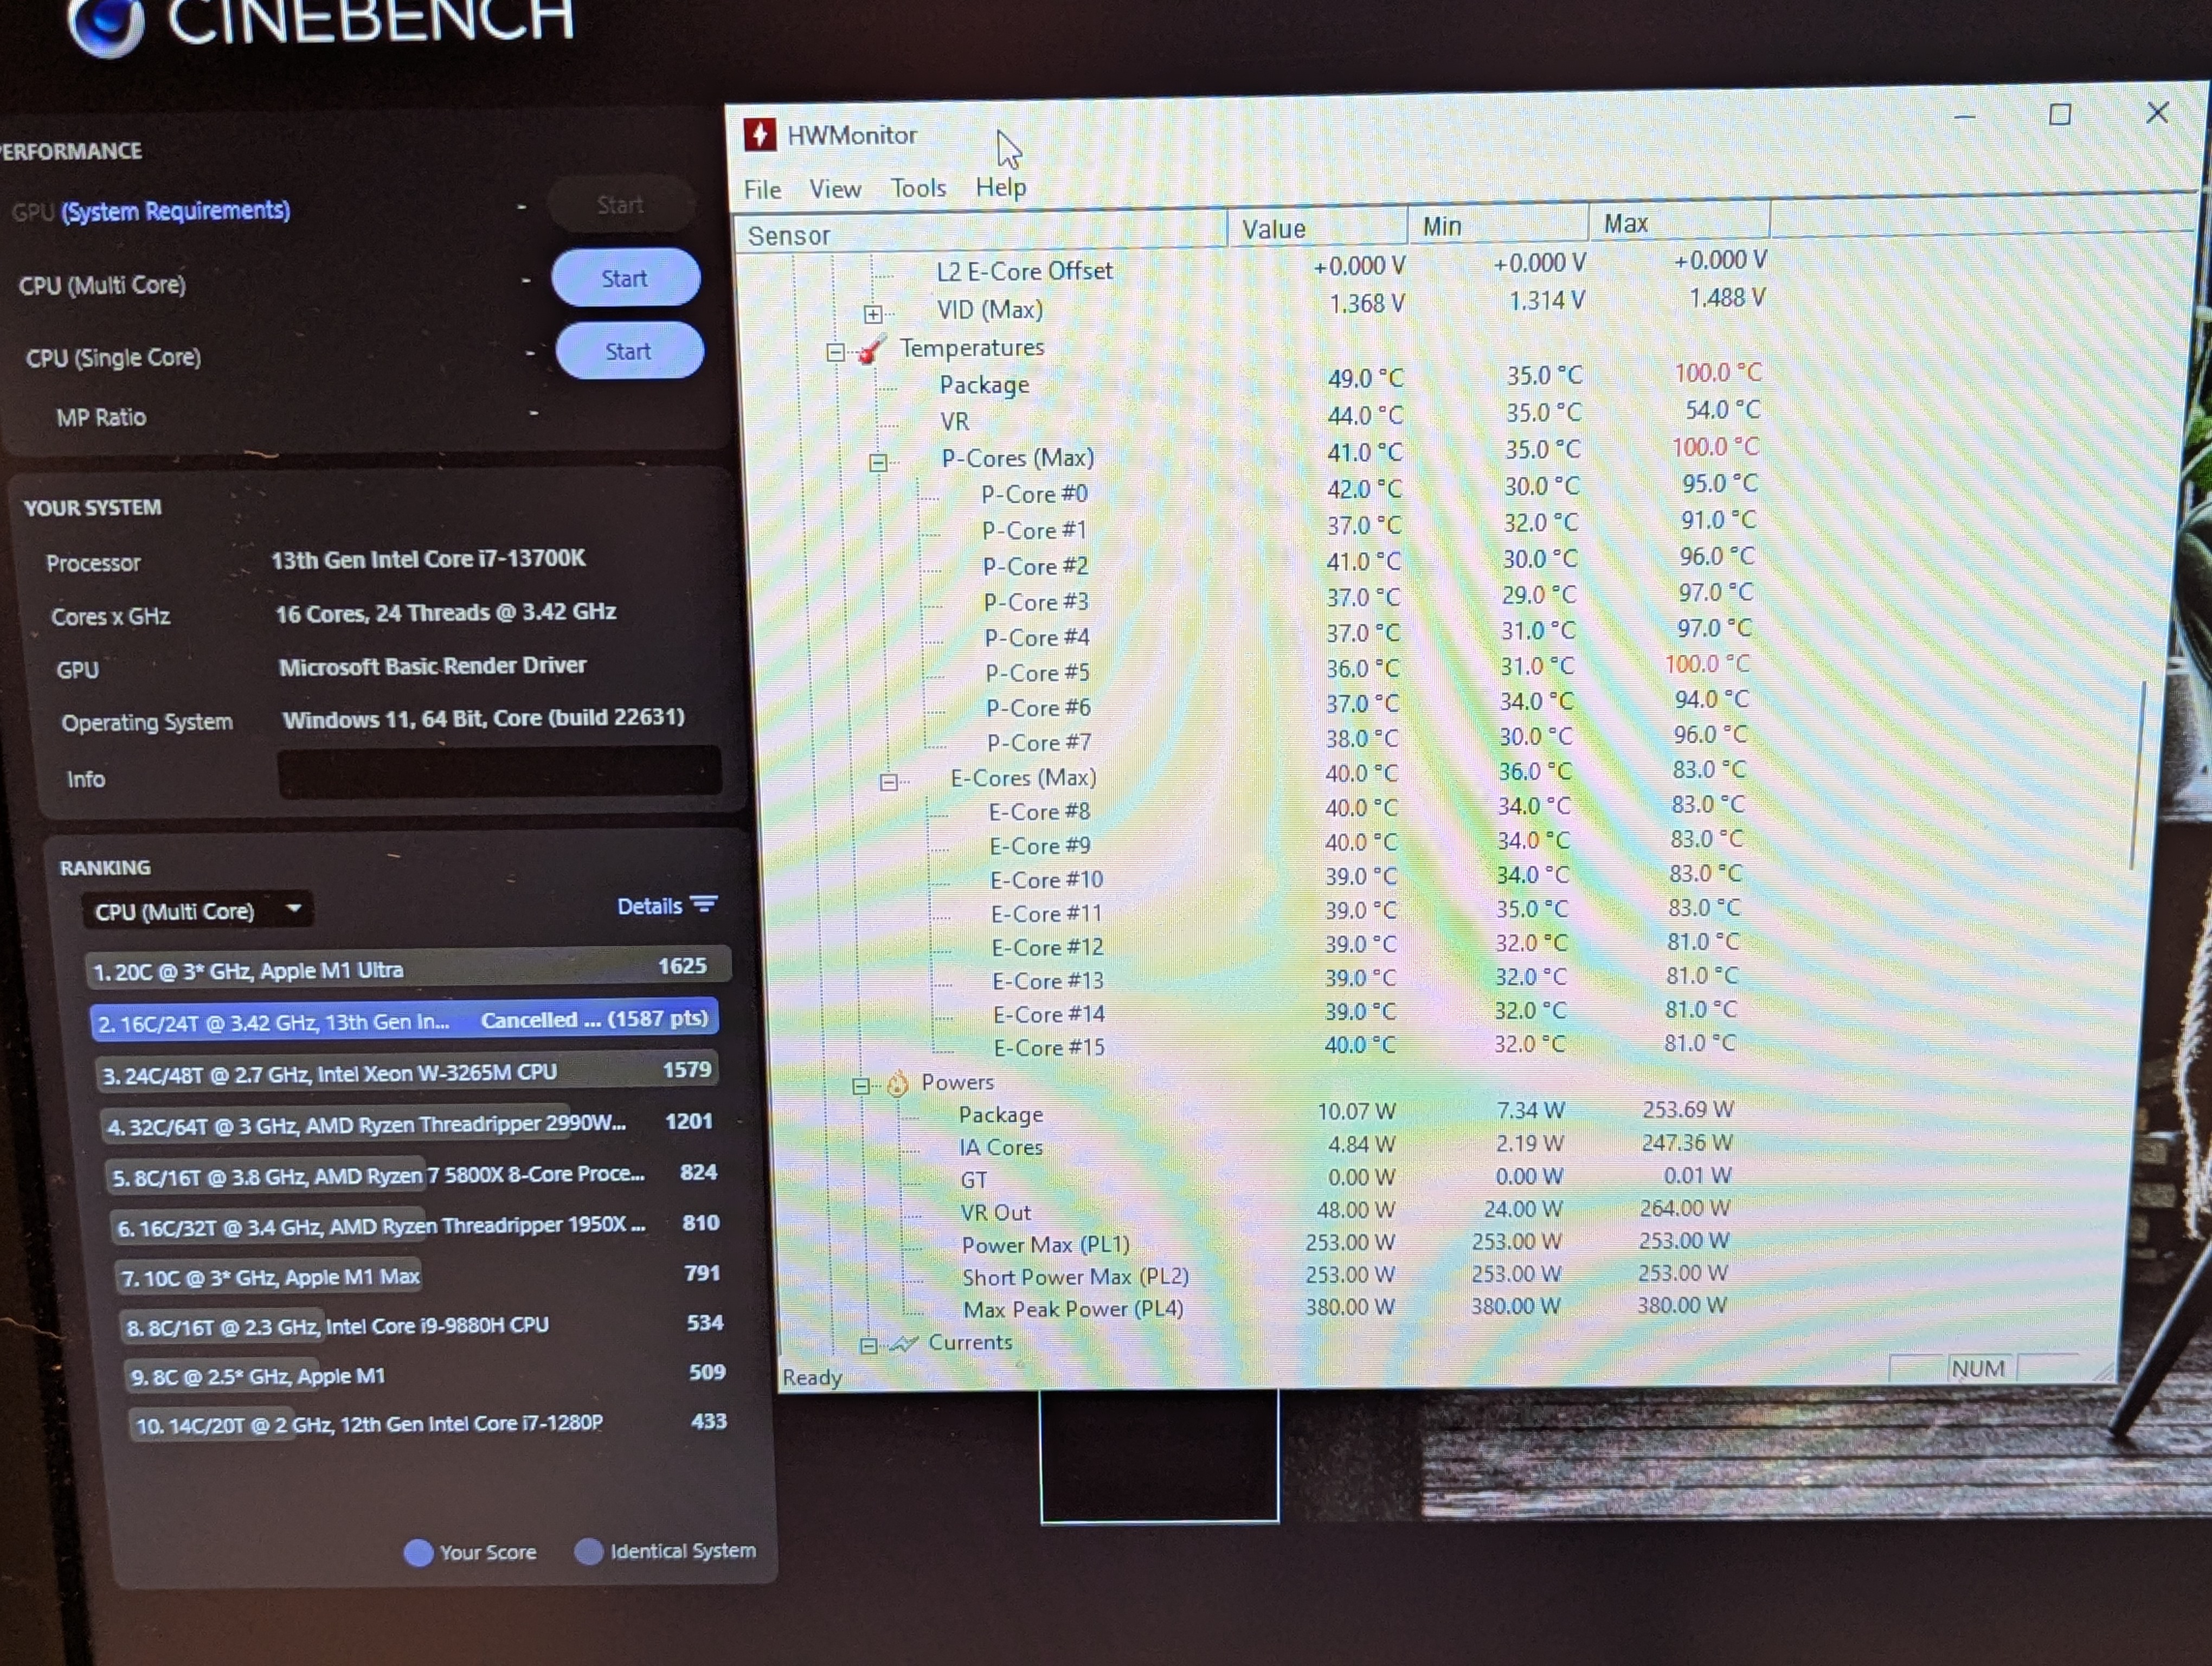
Cinebench Score: 1587
P-Core Temperatures: 91-100°C (Min: 91°C, Max: 100°C, Avg: 95.5°C)
E-Core Temperatures: 81-83°C (Min: 81°C, Max: 83°C, Avg: 82°C)
These results were alarming – the CPU was thermal throttling at 100°C during a simple benchmark. At these temperatures, not only would performance be compromised, but the CPU’s lifespan could be significantly reduced. These readings confirmed that my cooling solution wasn’t the issue; rather, the problem lay with Intel’s default voltage settings.
Performance and Temperature Summary
Interactive Performance and Temperature Visualization
Below is a complete summary of my undervolting journey, showing the progression of performance and temperature improvements with each modification:
| Step | Action | Cinebench Score | P-Core Temps (°C) | E-Core Temps (°C) | ||||
|---|---|---|---|---|---|---|---|---|
| Min | Max | Avg | Min | Max | Avg | |||
| 1 | Brand New CPU with ASUS default settings | 1587 | 91 | 100 | 95.5 | 81 | 83 | 82 |
| 2 | Undervolt -0.05V | 1599 | 86 | 96 | 91.875 | 76 | 80 | 79 |
| 3 | Undervolt -0.075V | 1612 | 83 | 91 | 87.625 | 74 | 76 | 75 |
| 4 | Undervolt -0.10V | 1531 | 81 | 89 | 86.375 | 72 | 74 | 73 |
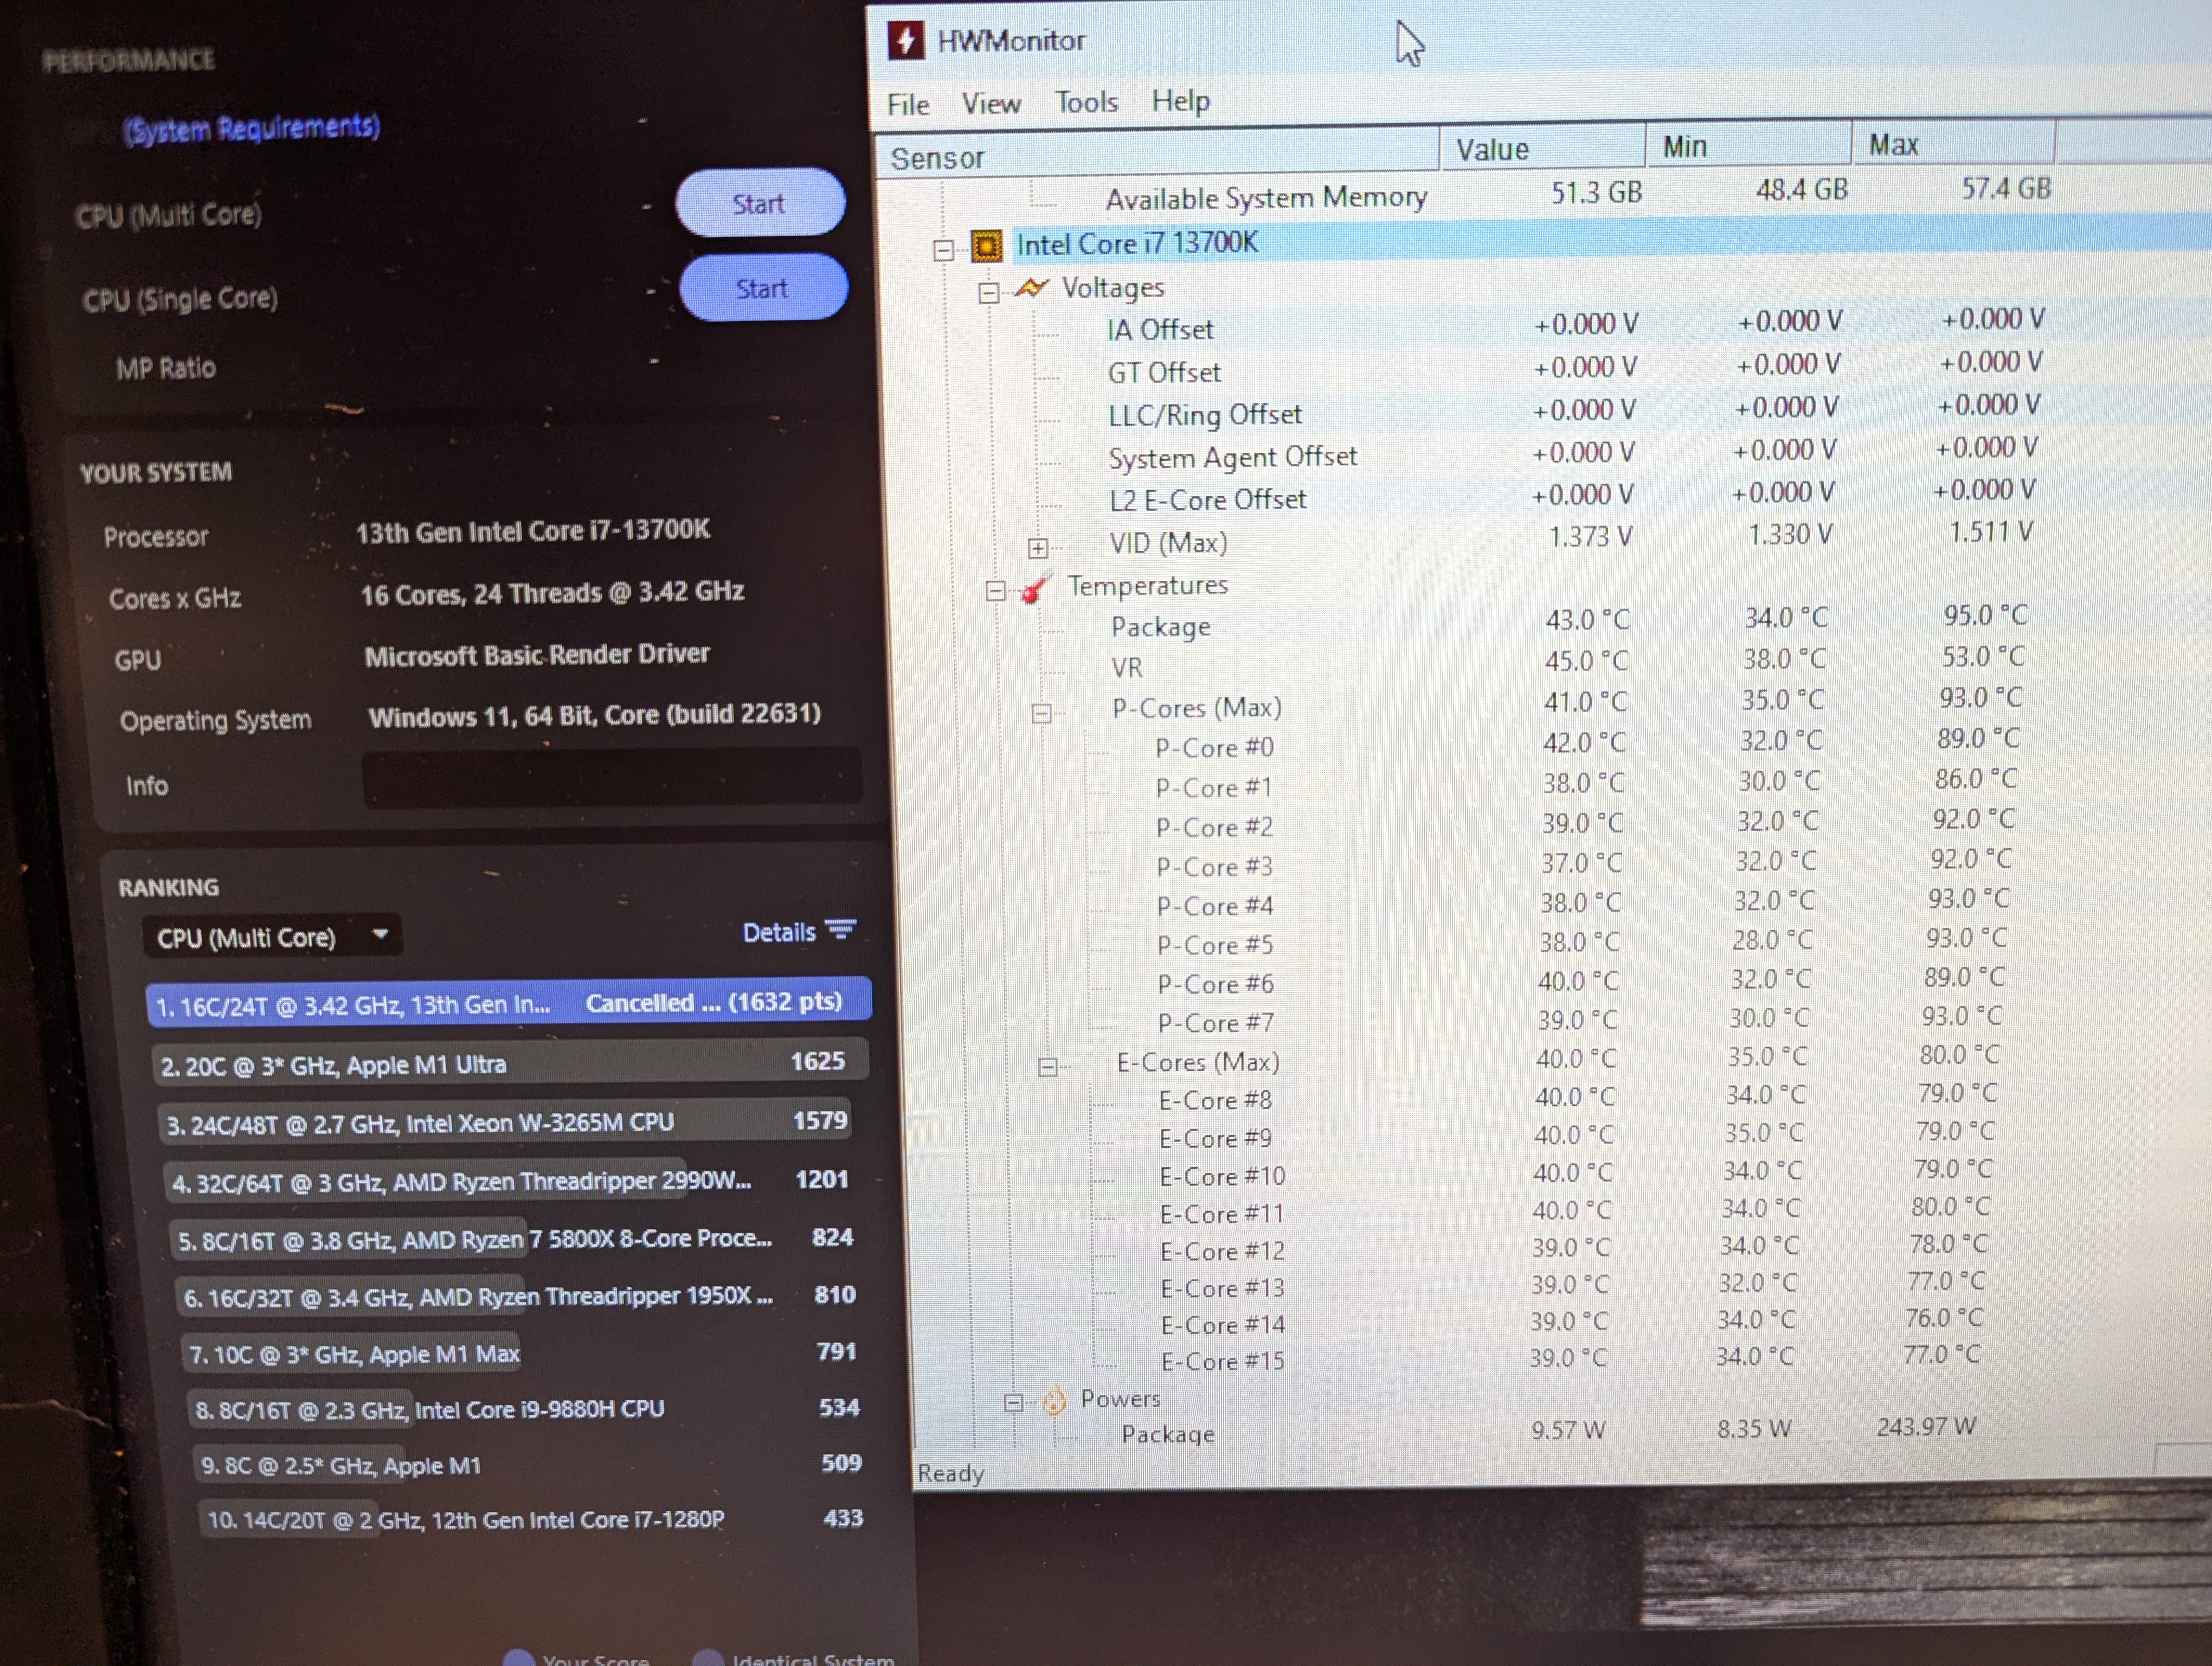
| 5 | LLC 4, Undervolt -0.075V | 1632 | 86 | 93 | 90.875 | 76 | 80 | 78.125 |
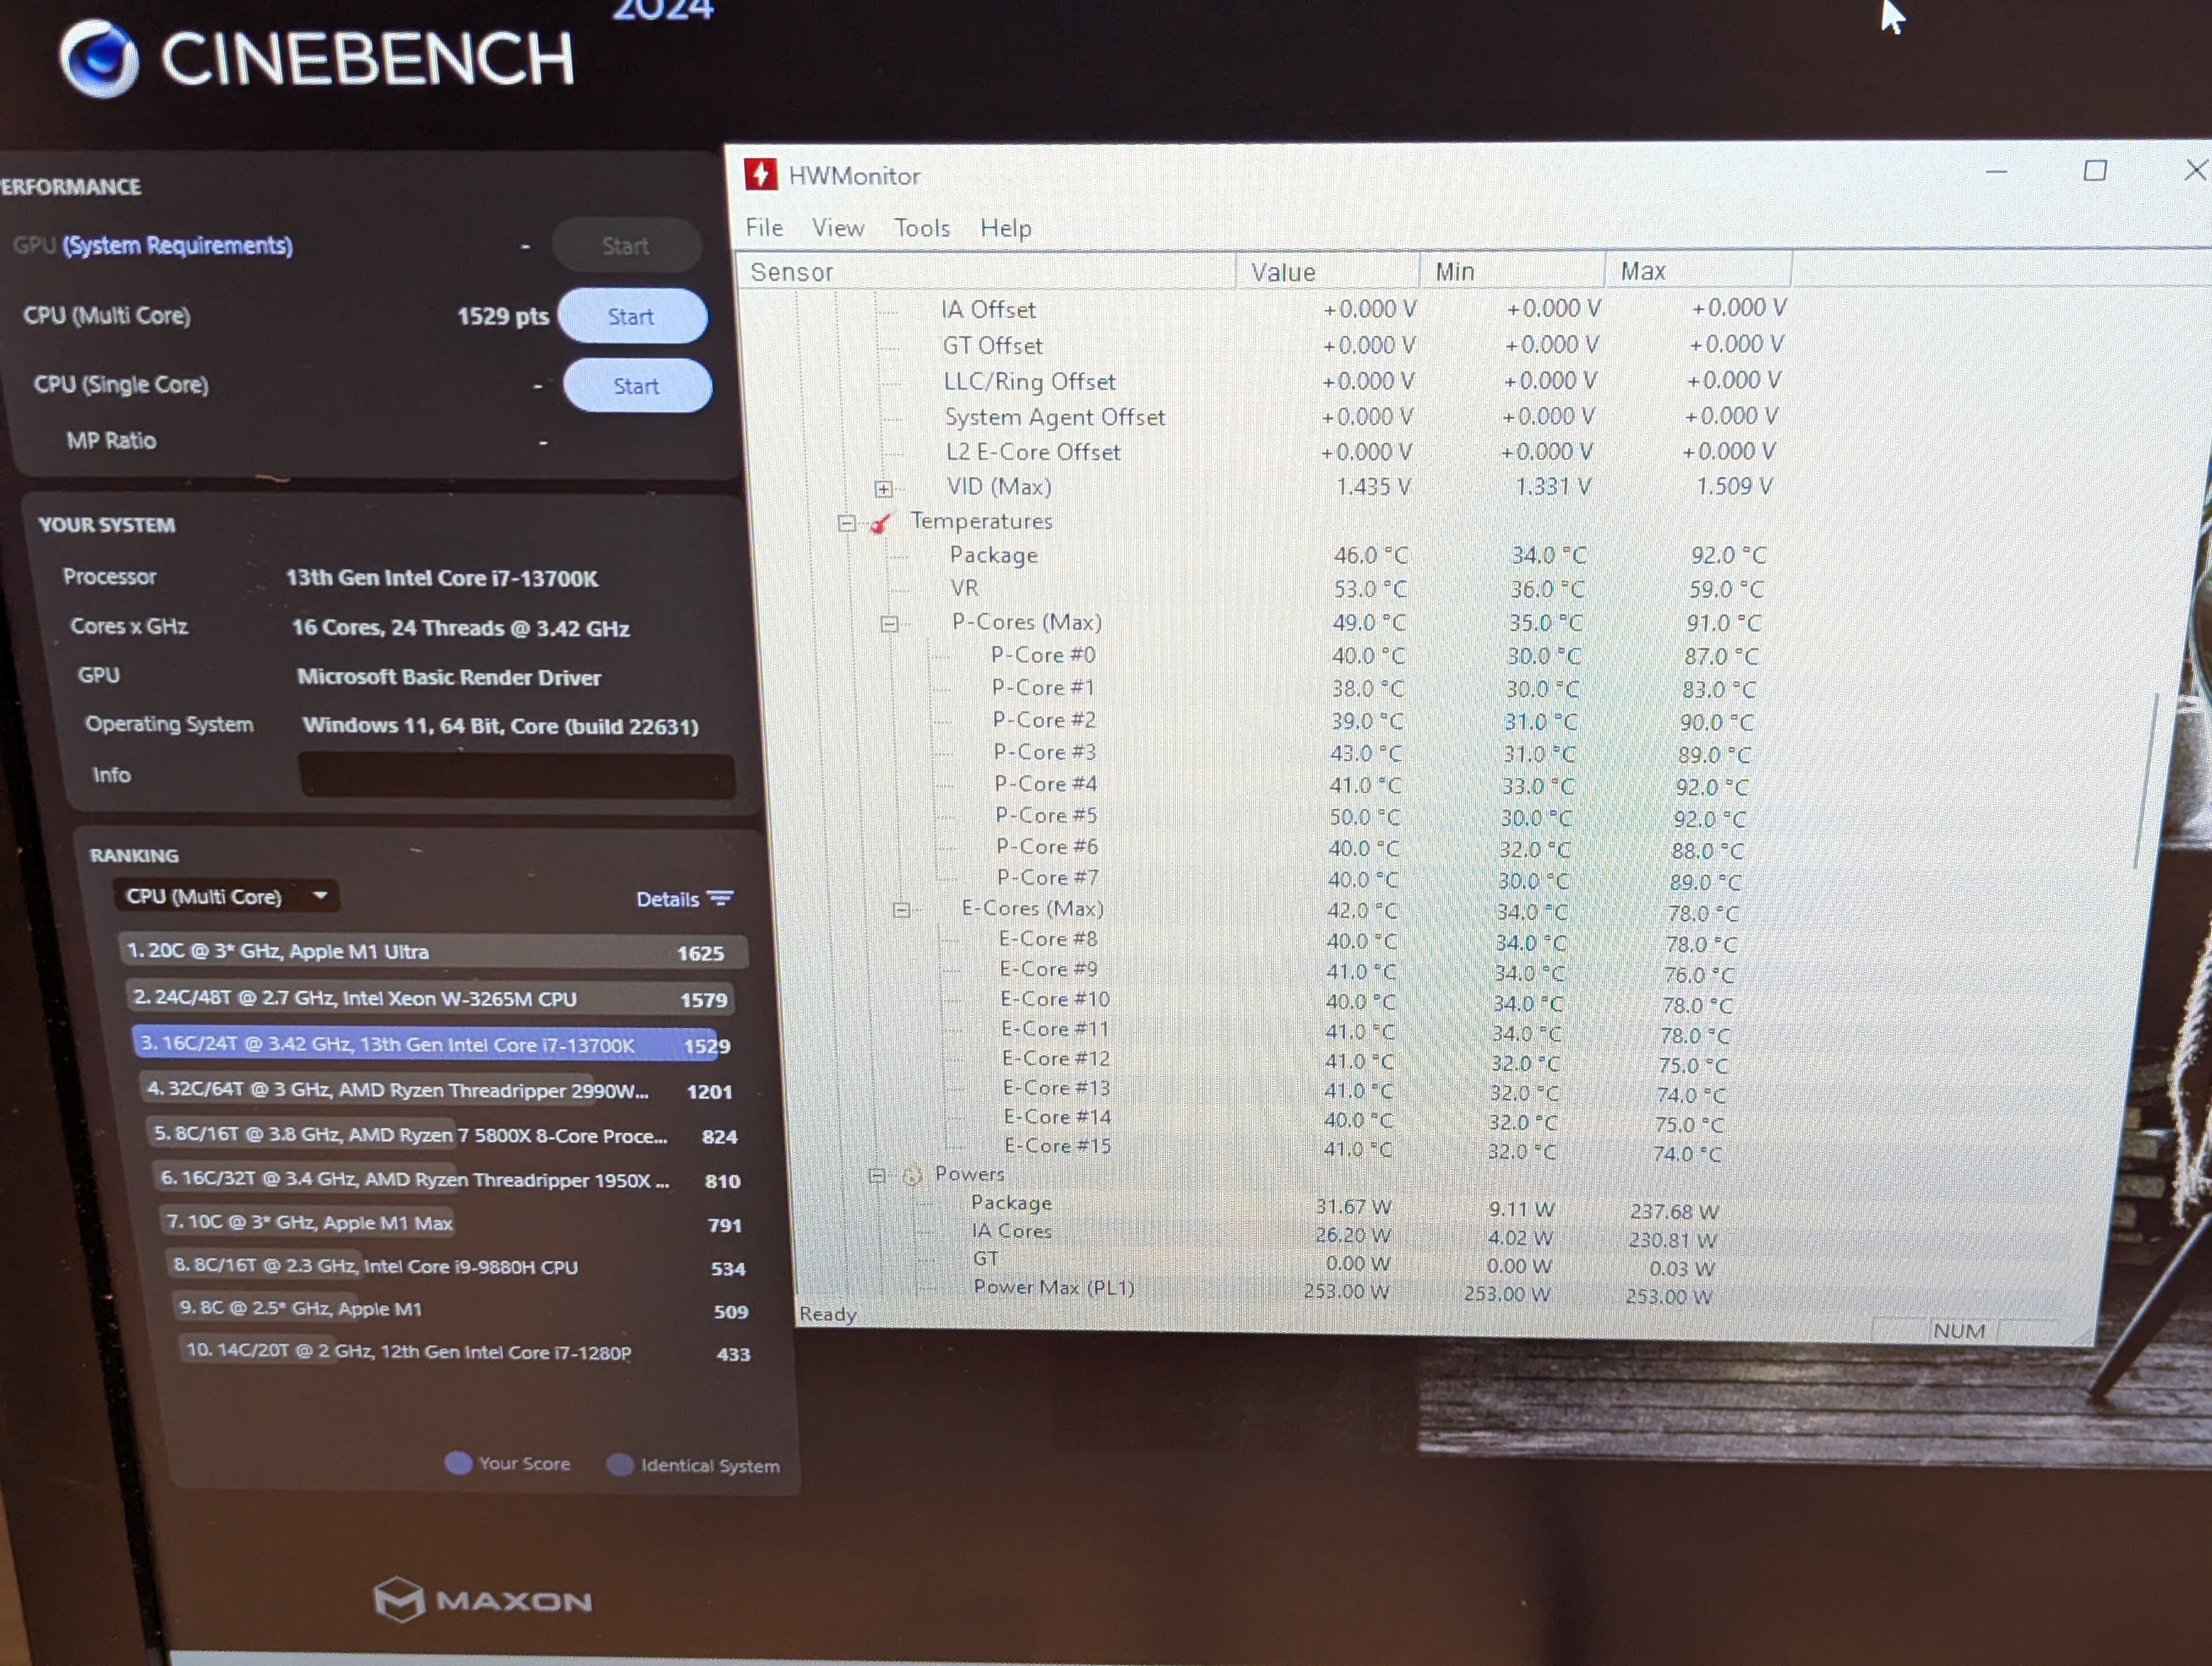
| 6 | LLC 3, Undervolt -0.075V | 1529 | 83 | 92 | 88.75 | 74 | 78 | 76 |
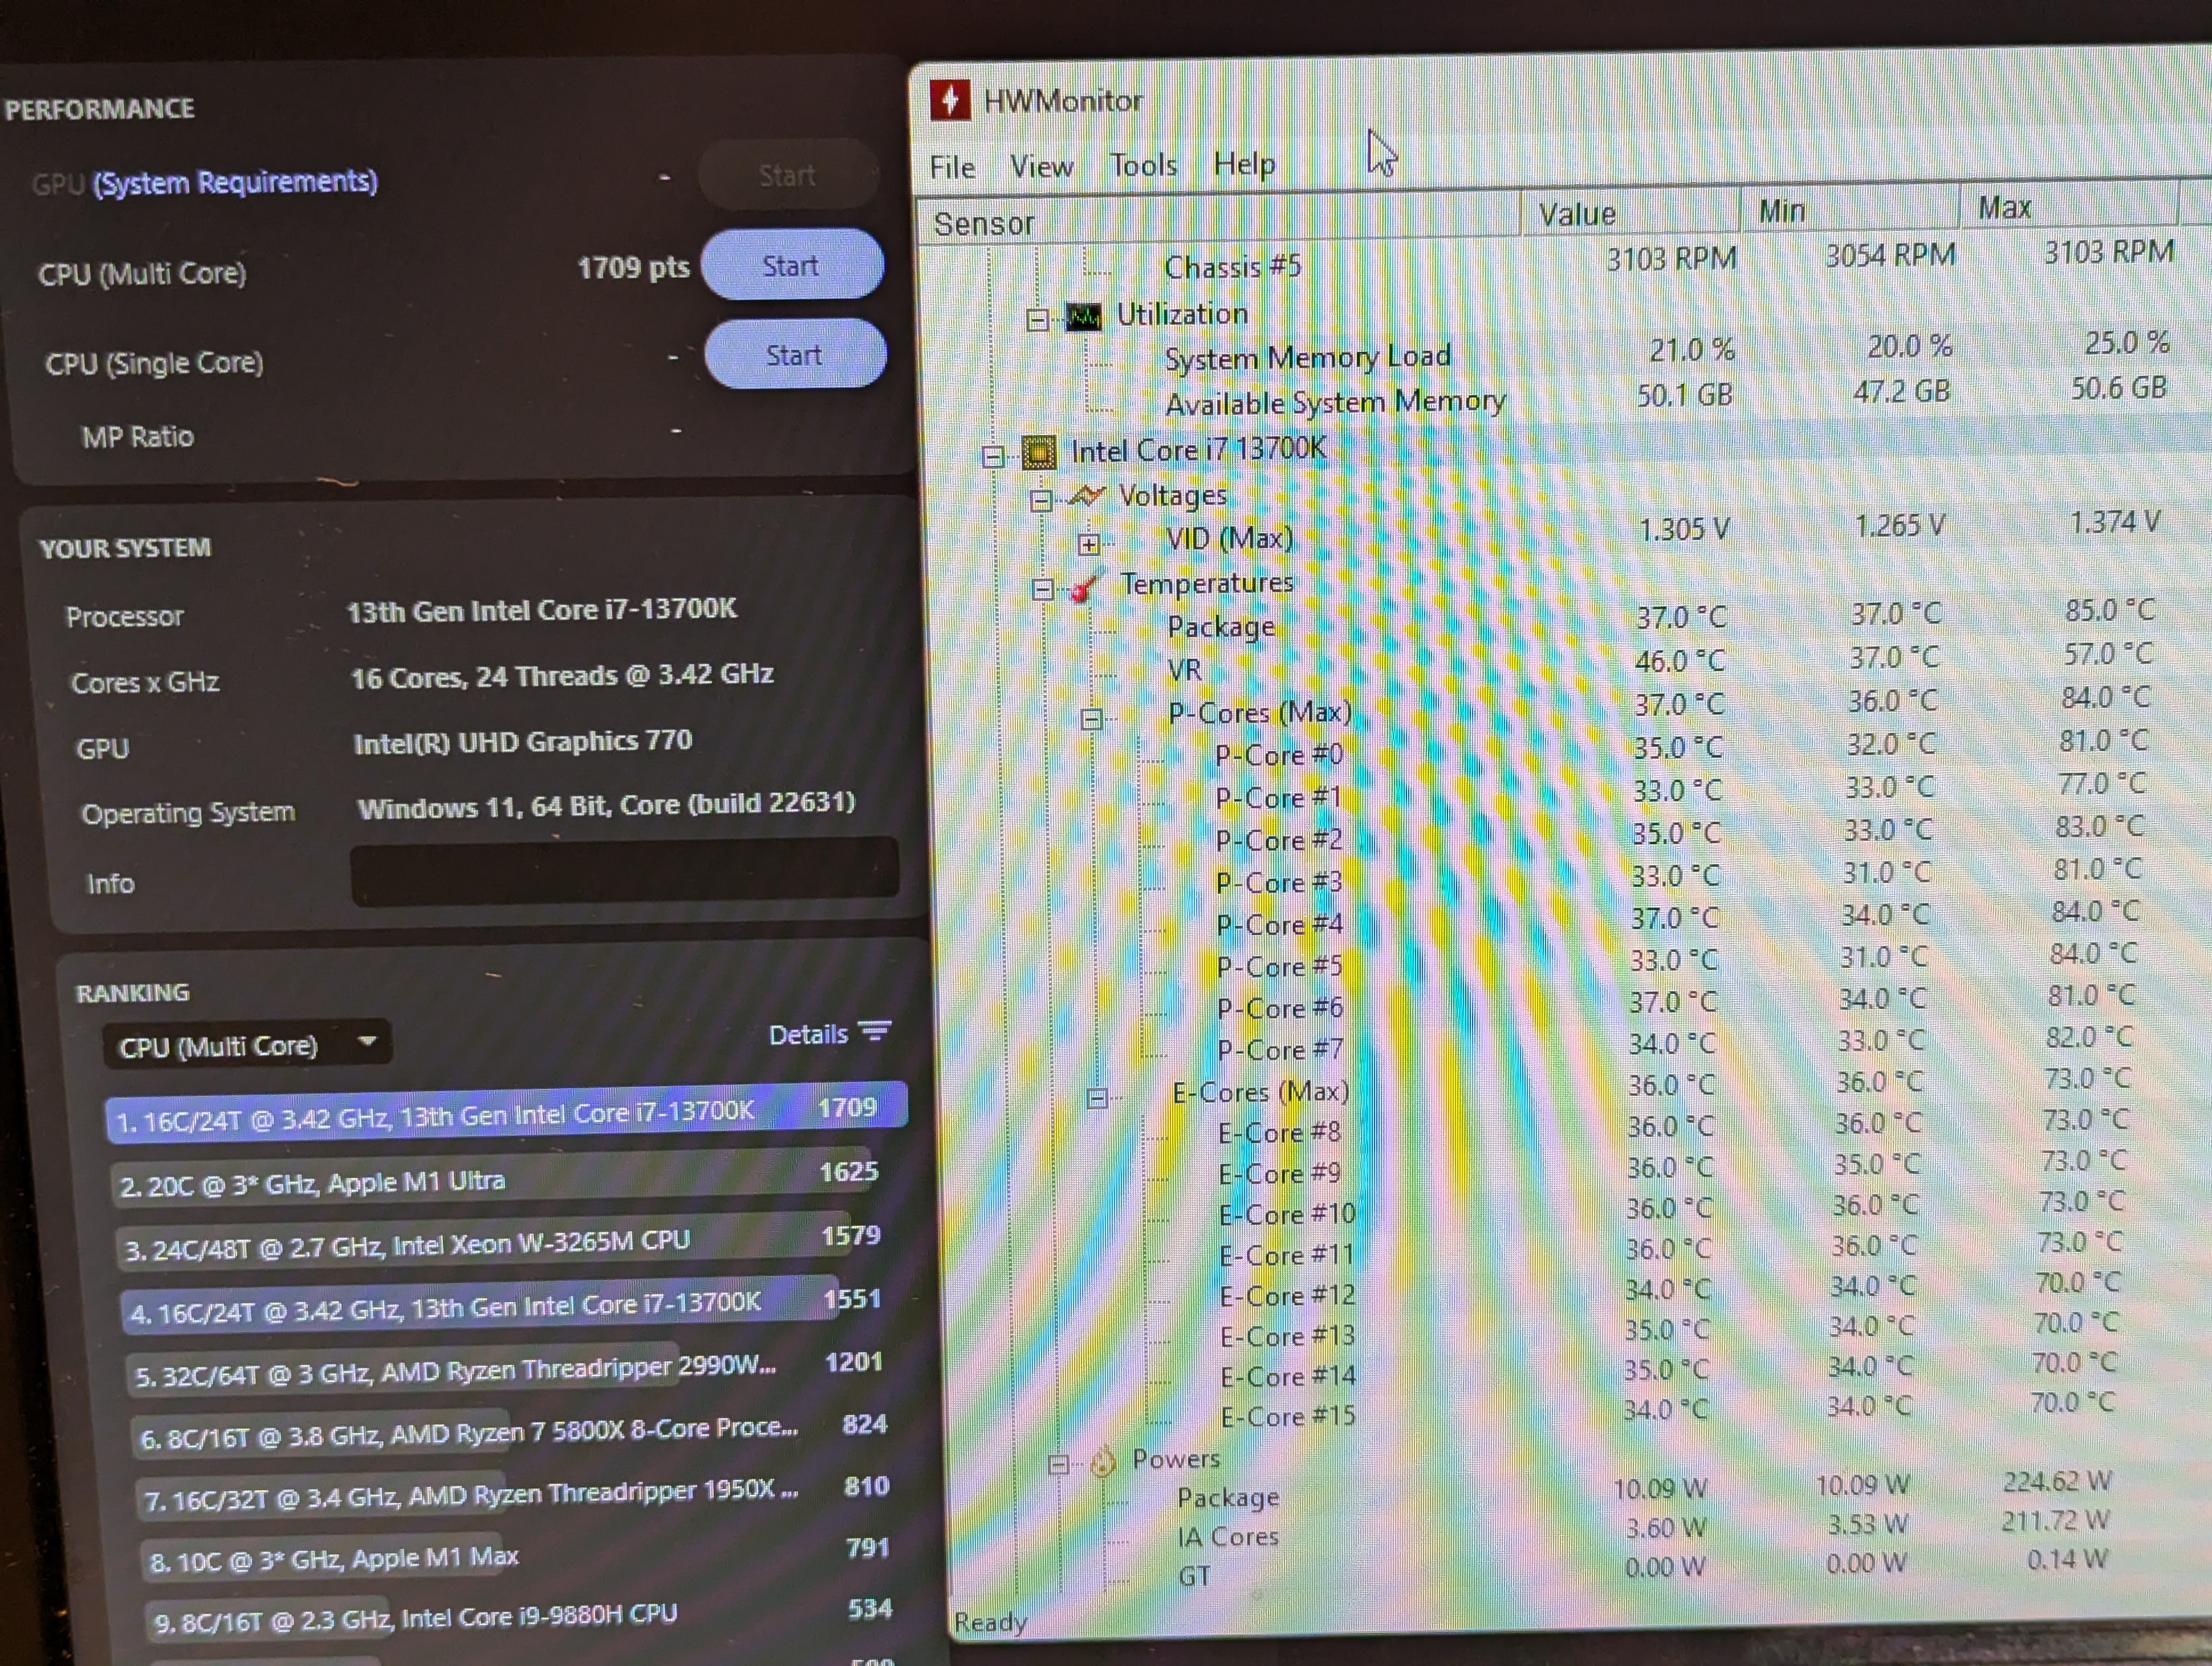
| 7 | Memory Tuning, LLC 3, -0.075V | 1709 | 77 | 84 | 80.5 | 70 | 73 | 71.5 |
As you can see, the final configuration resulted in a 7.7% performance improvement while simultaneously reducing peak temperatures by approximately 16°C for P-Cores and 10°C for E-Cores. This demonstrates that proper tuning can achieve both better performance and lower temperatures simultaneously.
The Transformation: Default vs. Fine-Tuned
Before diving into the step-by-step process, let’s look at the dramatic difference these adjustments made.
Brand New CPU with ASUS default settings:
- Cinebench Score: 1587
- P-Core Temperatures (under load): 91-100°C
- E-Core Temperatures (under load): 81-83°C
After 7 Steps of Fine-Tuning (Undervolting, LLC, Memory Tuning):
- Cinebench Score: 1709 (an increase of ~7.7%!)
- P-Core Temperatures (under load): 77-84°C (a significant drop!)
- E-Core Temperatures (under load): 70-73°C (also much cooler!)
This journey clearly shows that taking the time to tune your CPU can yield substantial benefits in both thermal performance and raw processing power.
The 7 Steps to a Cooler, Faster CPU
Here’s a breakdown of the adjustments I made in the ASUS BIOS. Each step involved careful changes and testing.
Step 1: Default Settings Benchmark
This section has been moved above as “Initial CPU Performance: Brand New with Default Settings.”
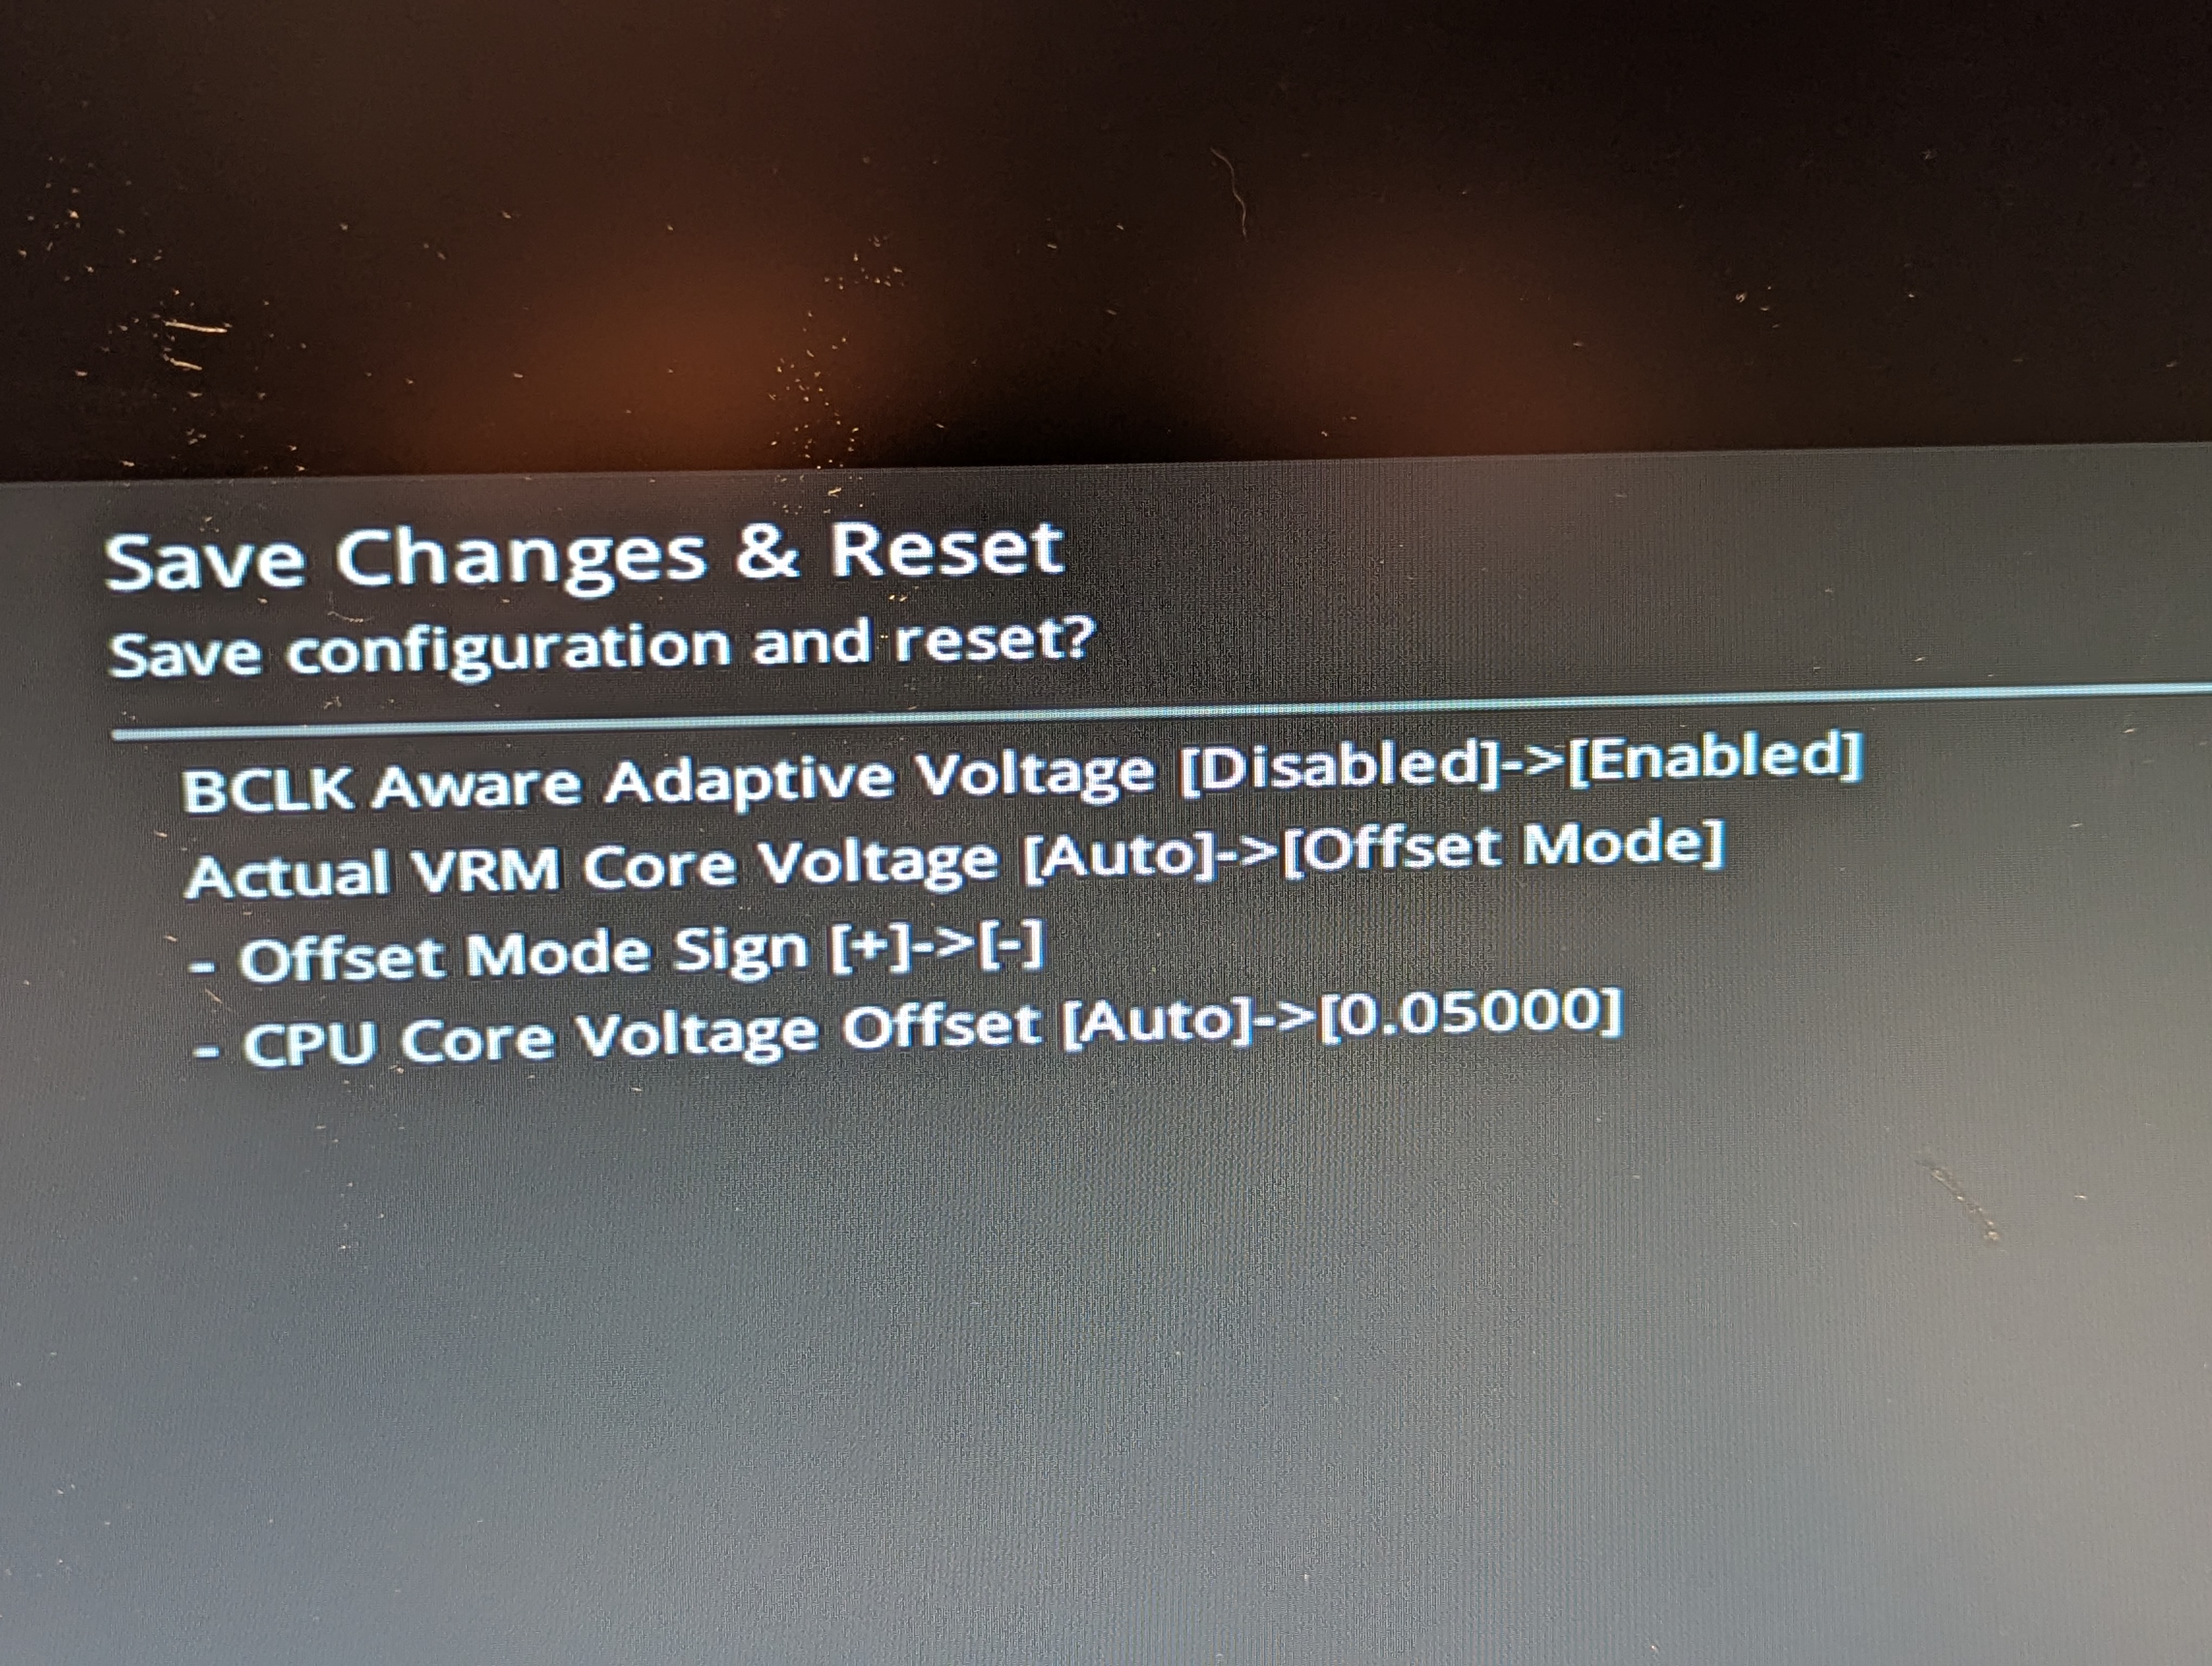
Step 2: Initial Undervolt (-0.05V)
The first foray into undervolting. A conservative -0.05V offset was applied to the CPU core voltage.
BIOS Settings:
Results:
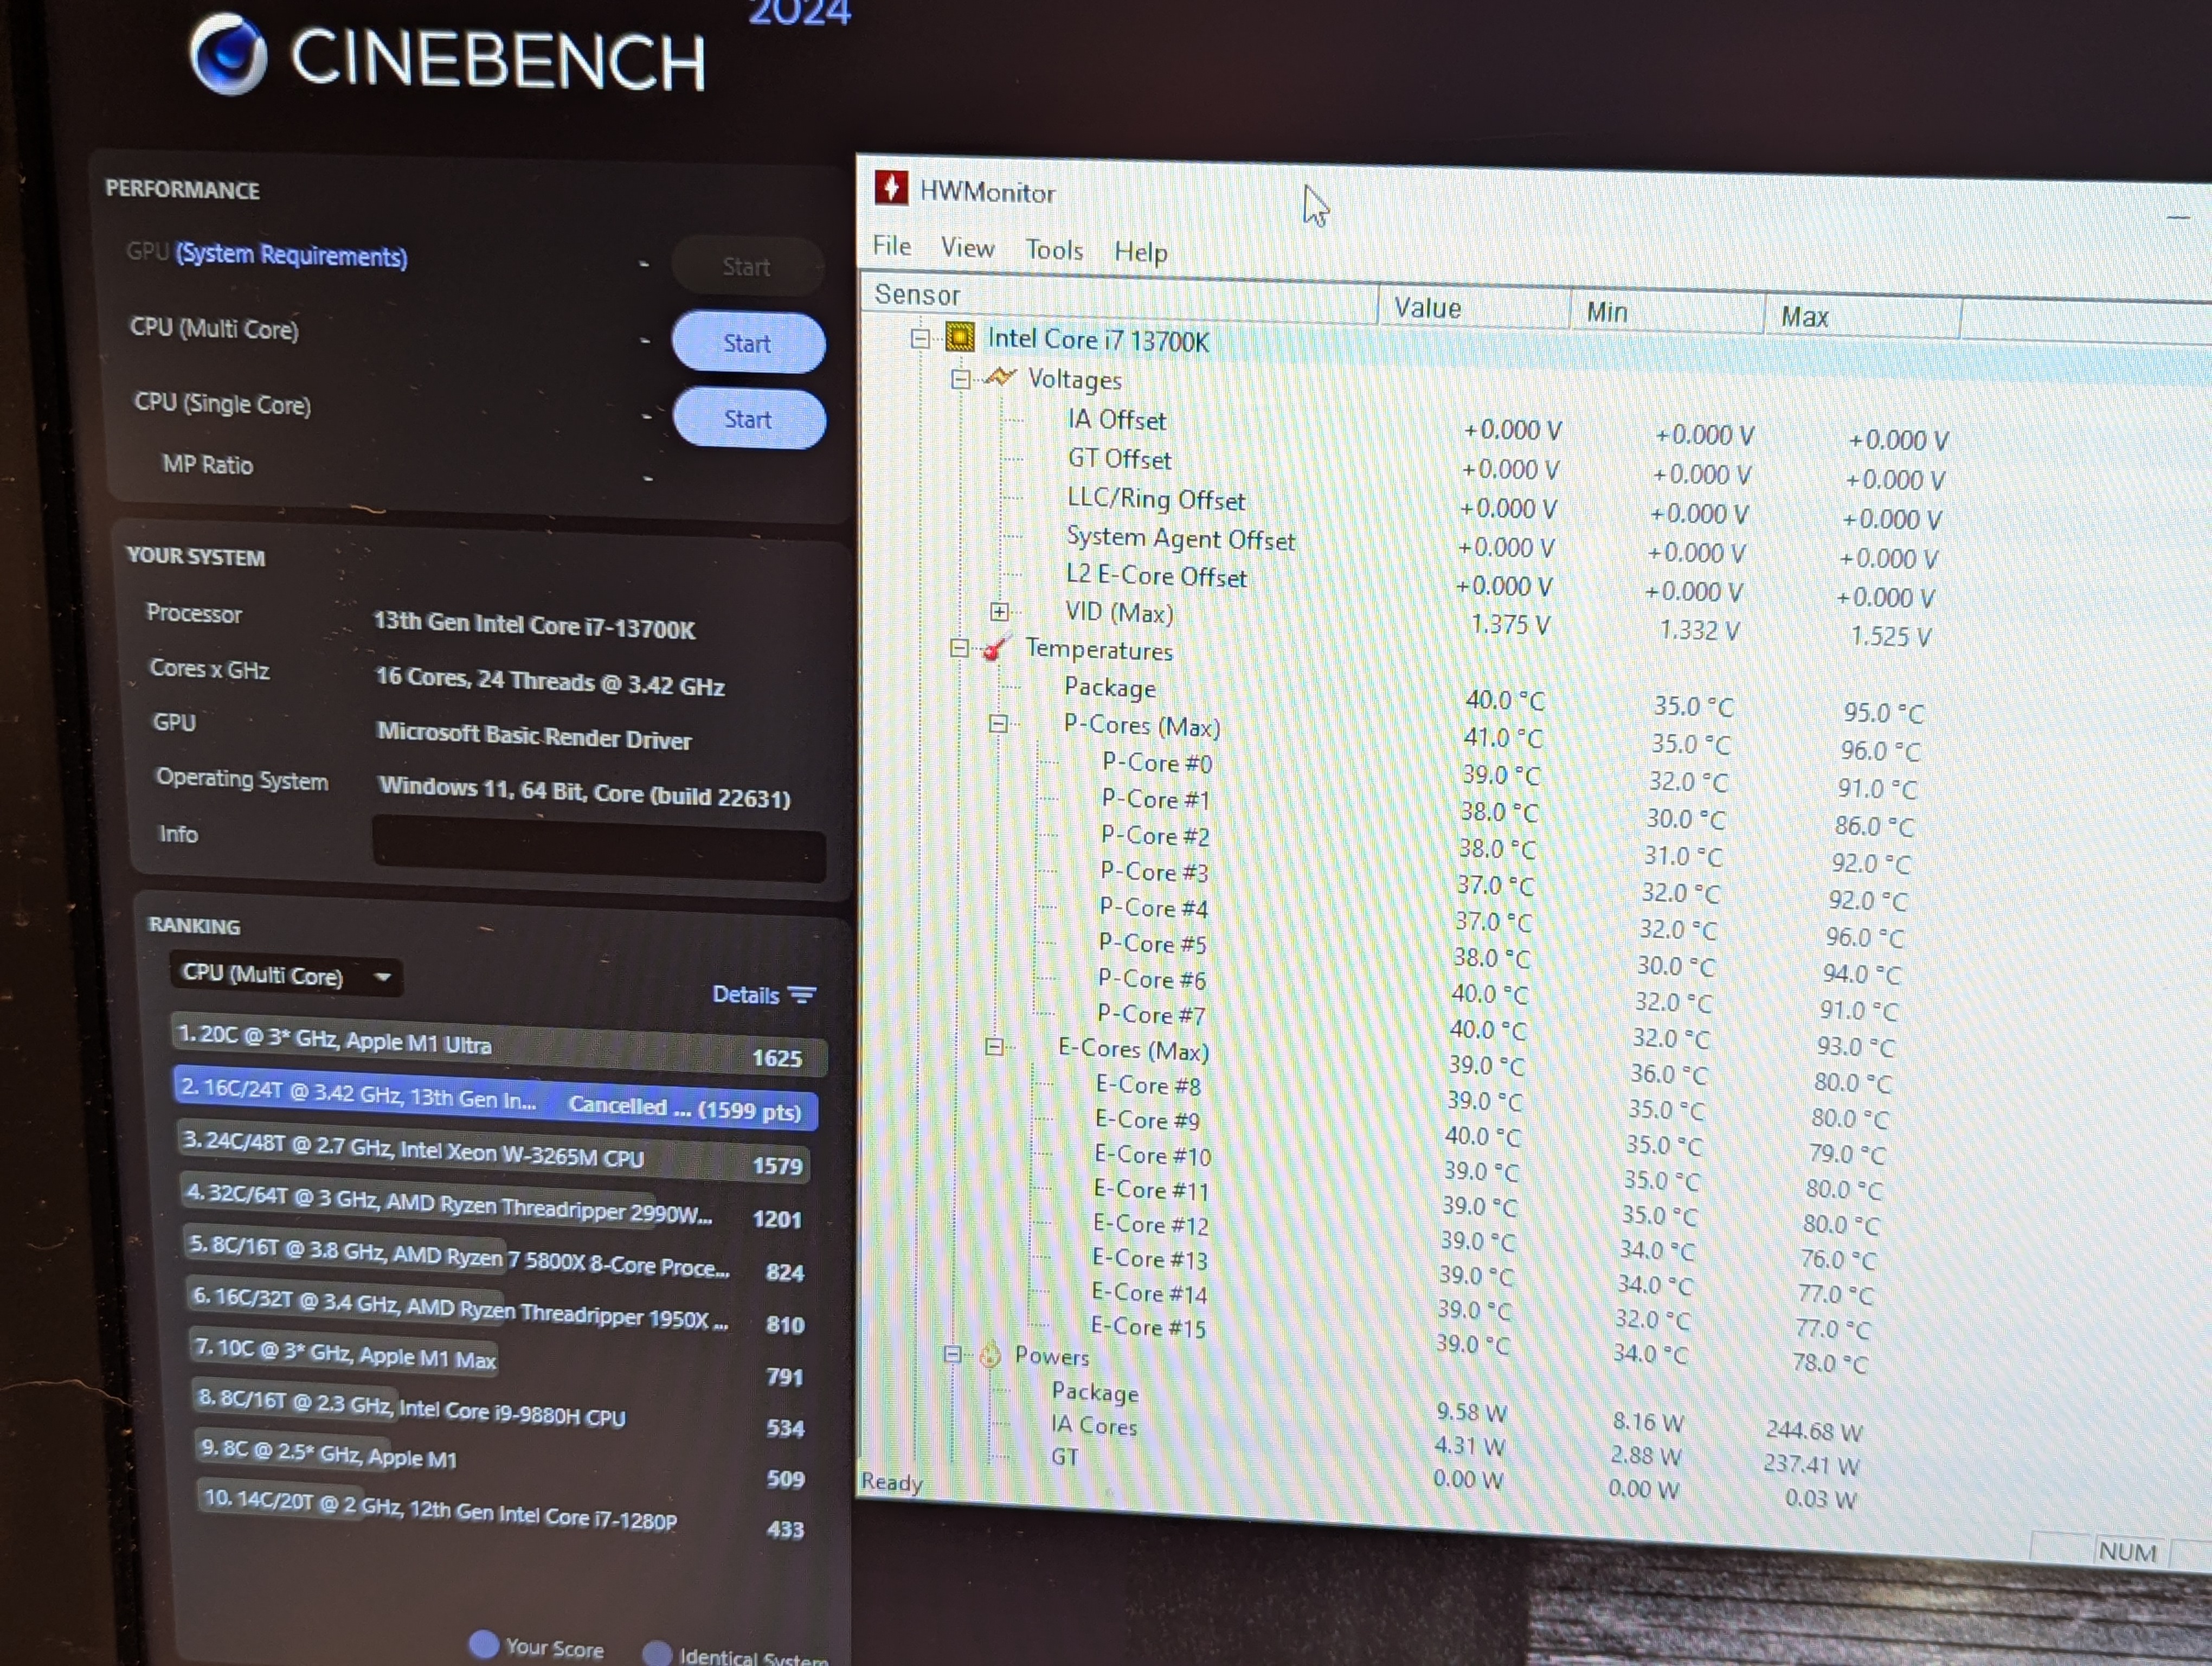
- Action: Applied a -0.05V undervolt.
- Cinebench Score: 1599
- P-Core Temperatures:
- Min: 86°C, Max: 96°C, Avg: 91.875°C
- E-Core Temperatures:
- Min: 76°C, Max: 80°C, Avg: 79°C
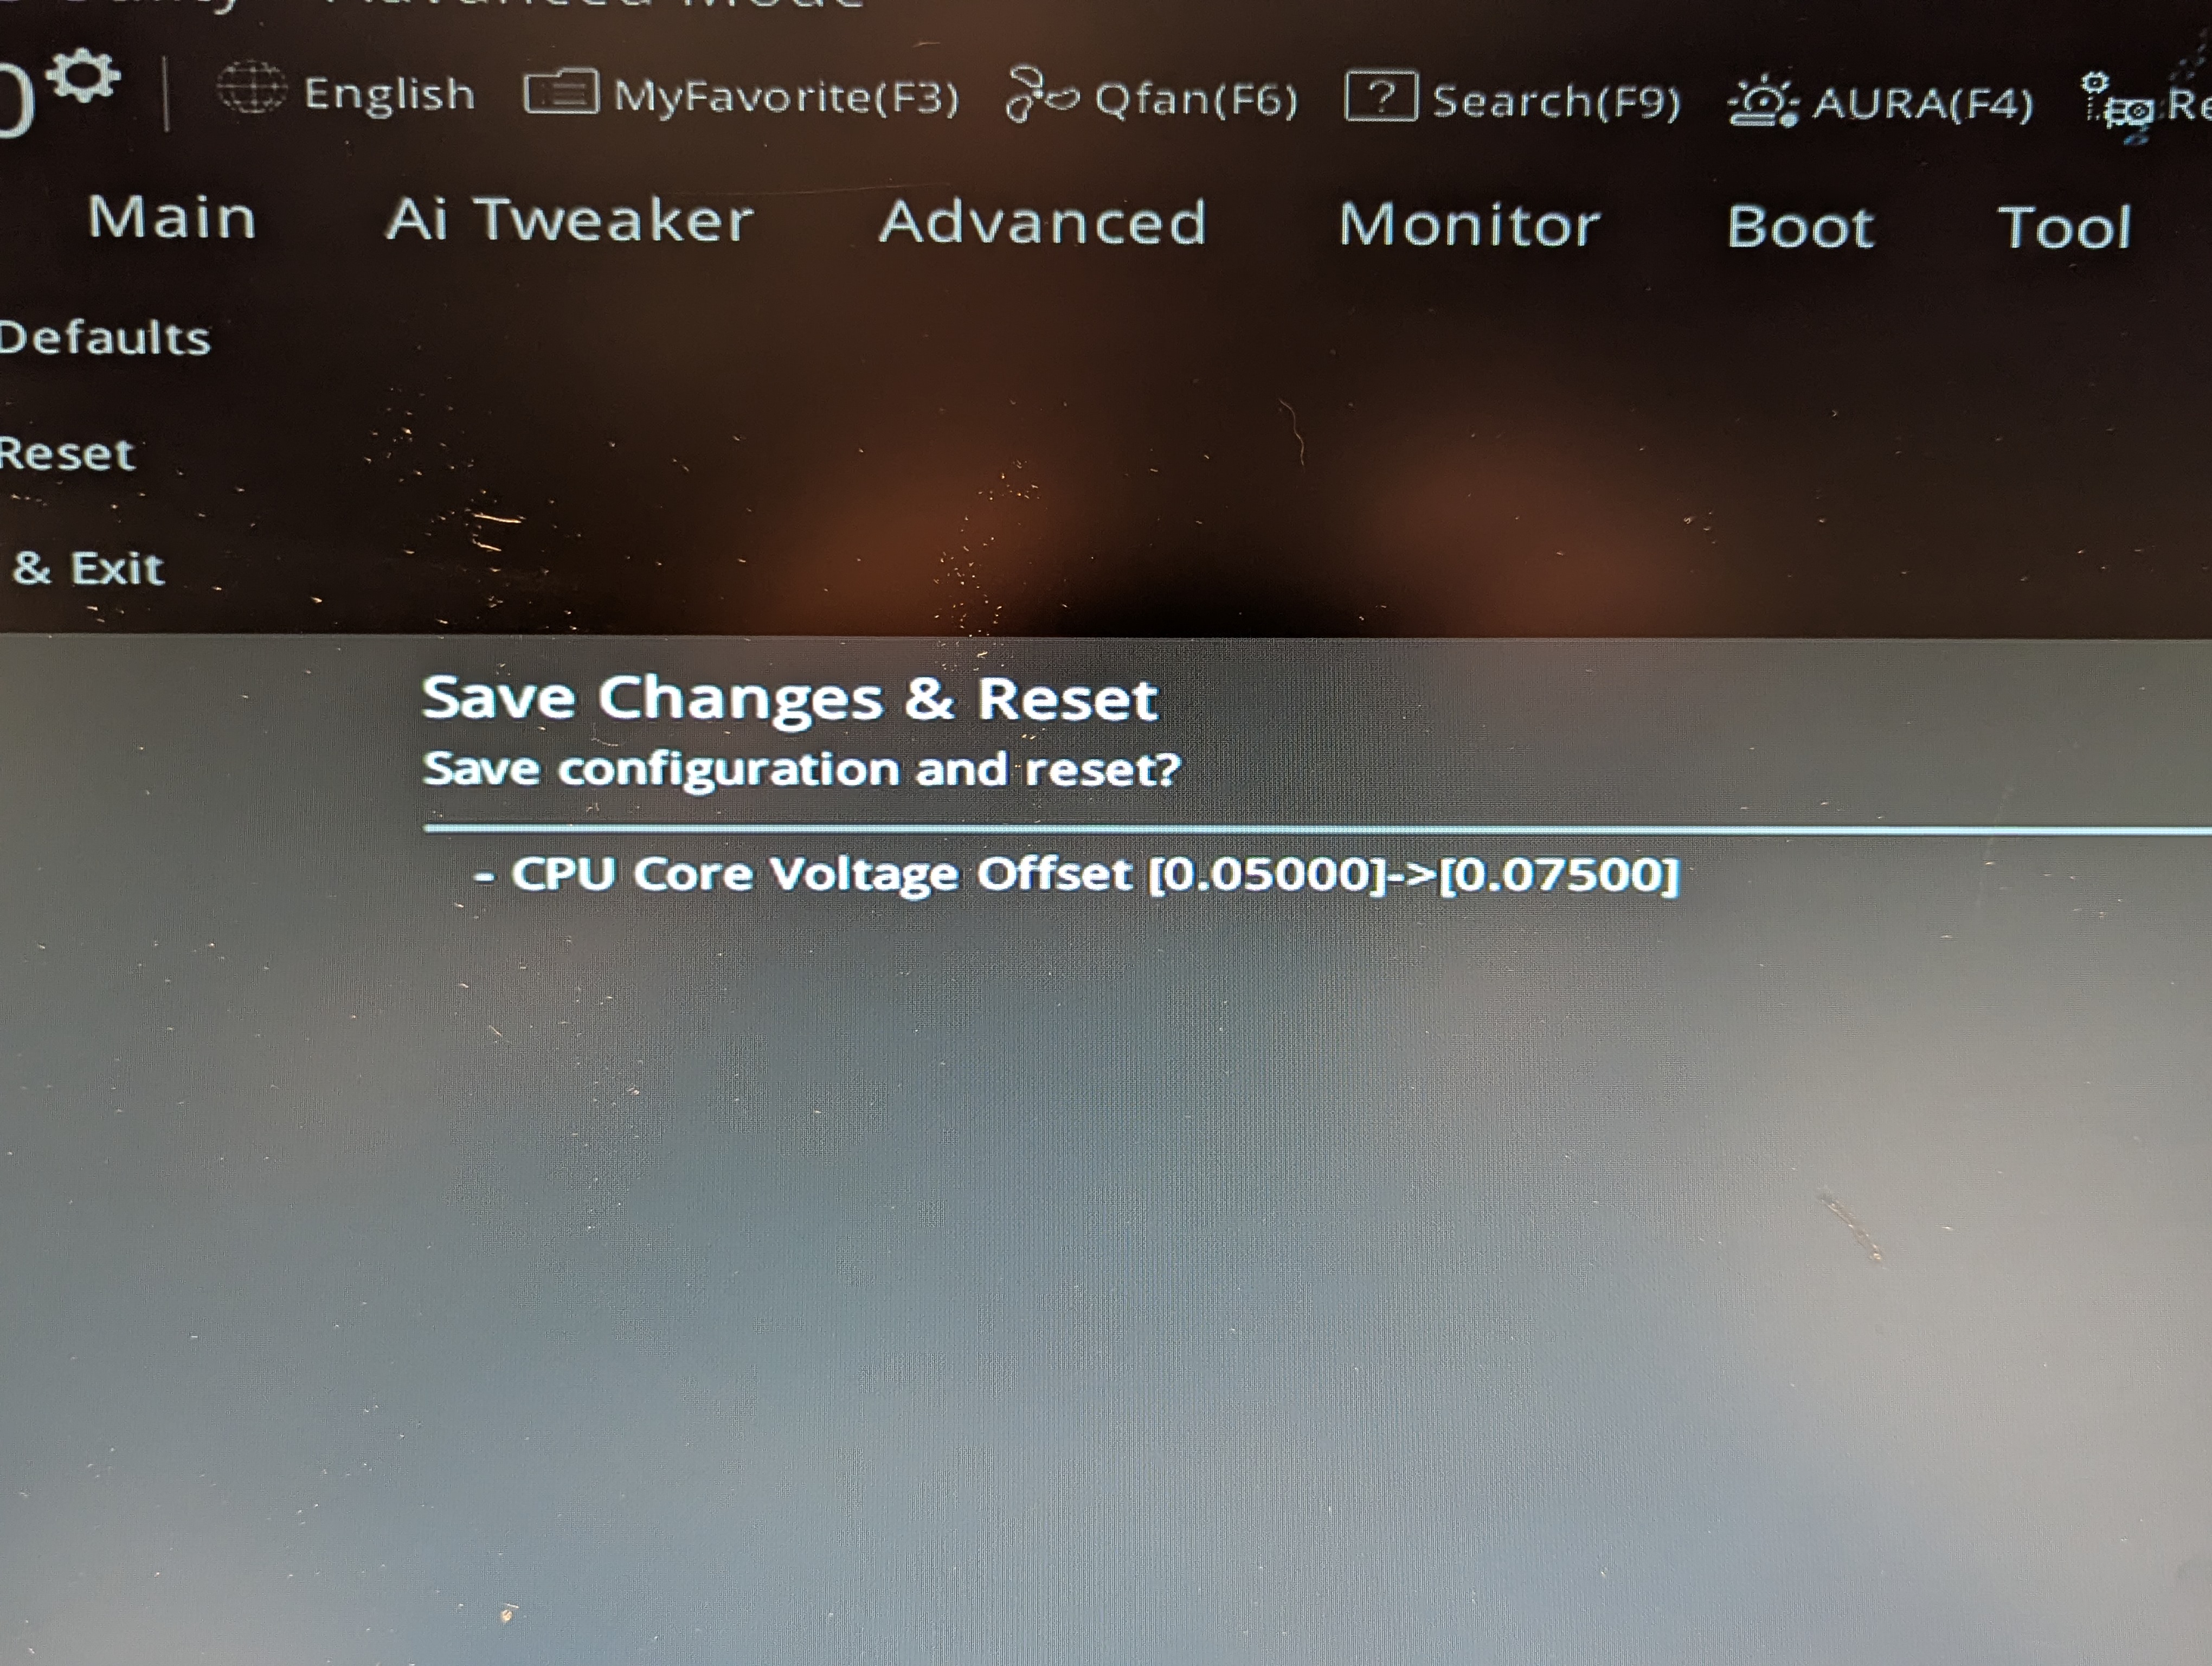
Step 3: Deeper Undervolt (-0.075V)
Pushing the undervolt a bit further to -0.075V.
BIOS Settings:
Results:
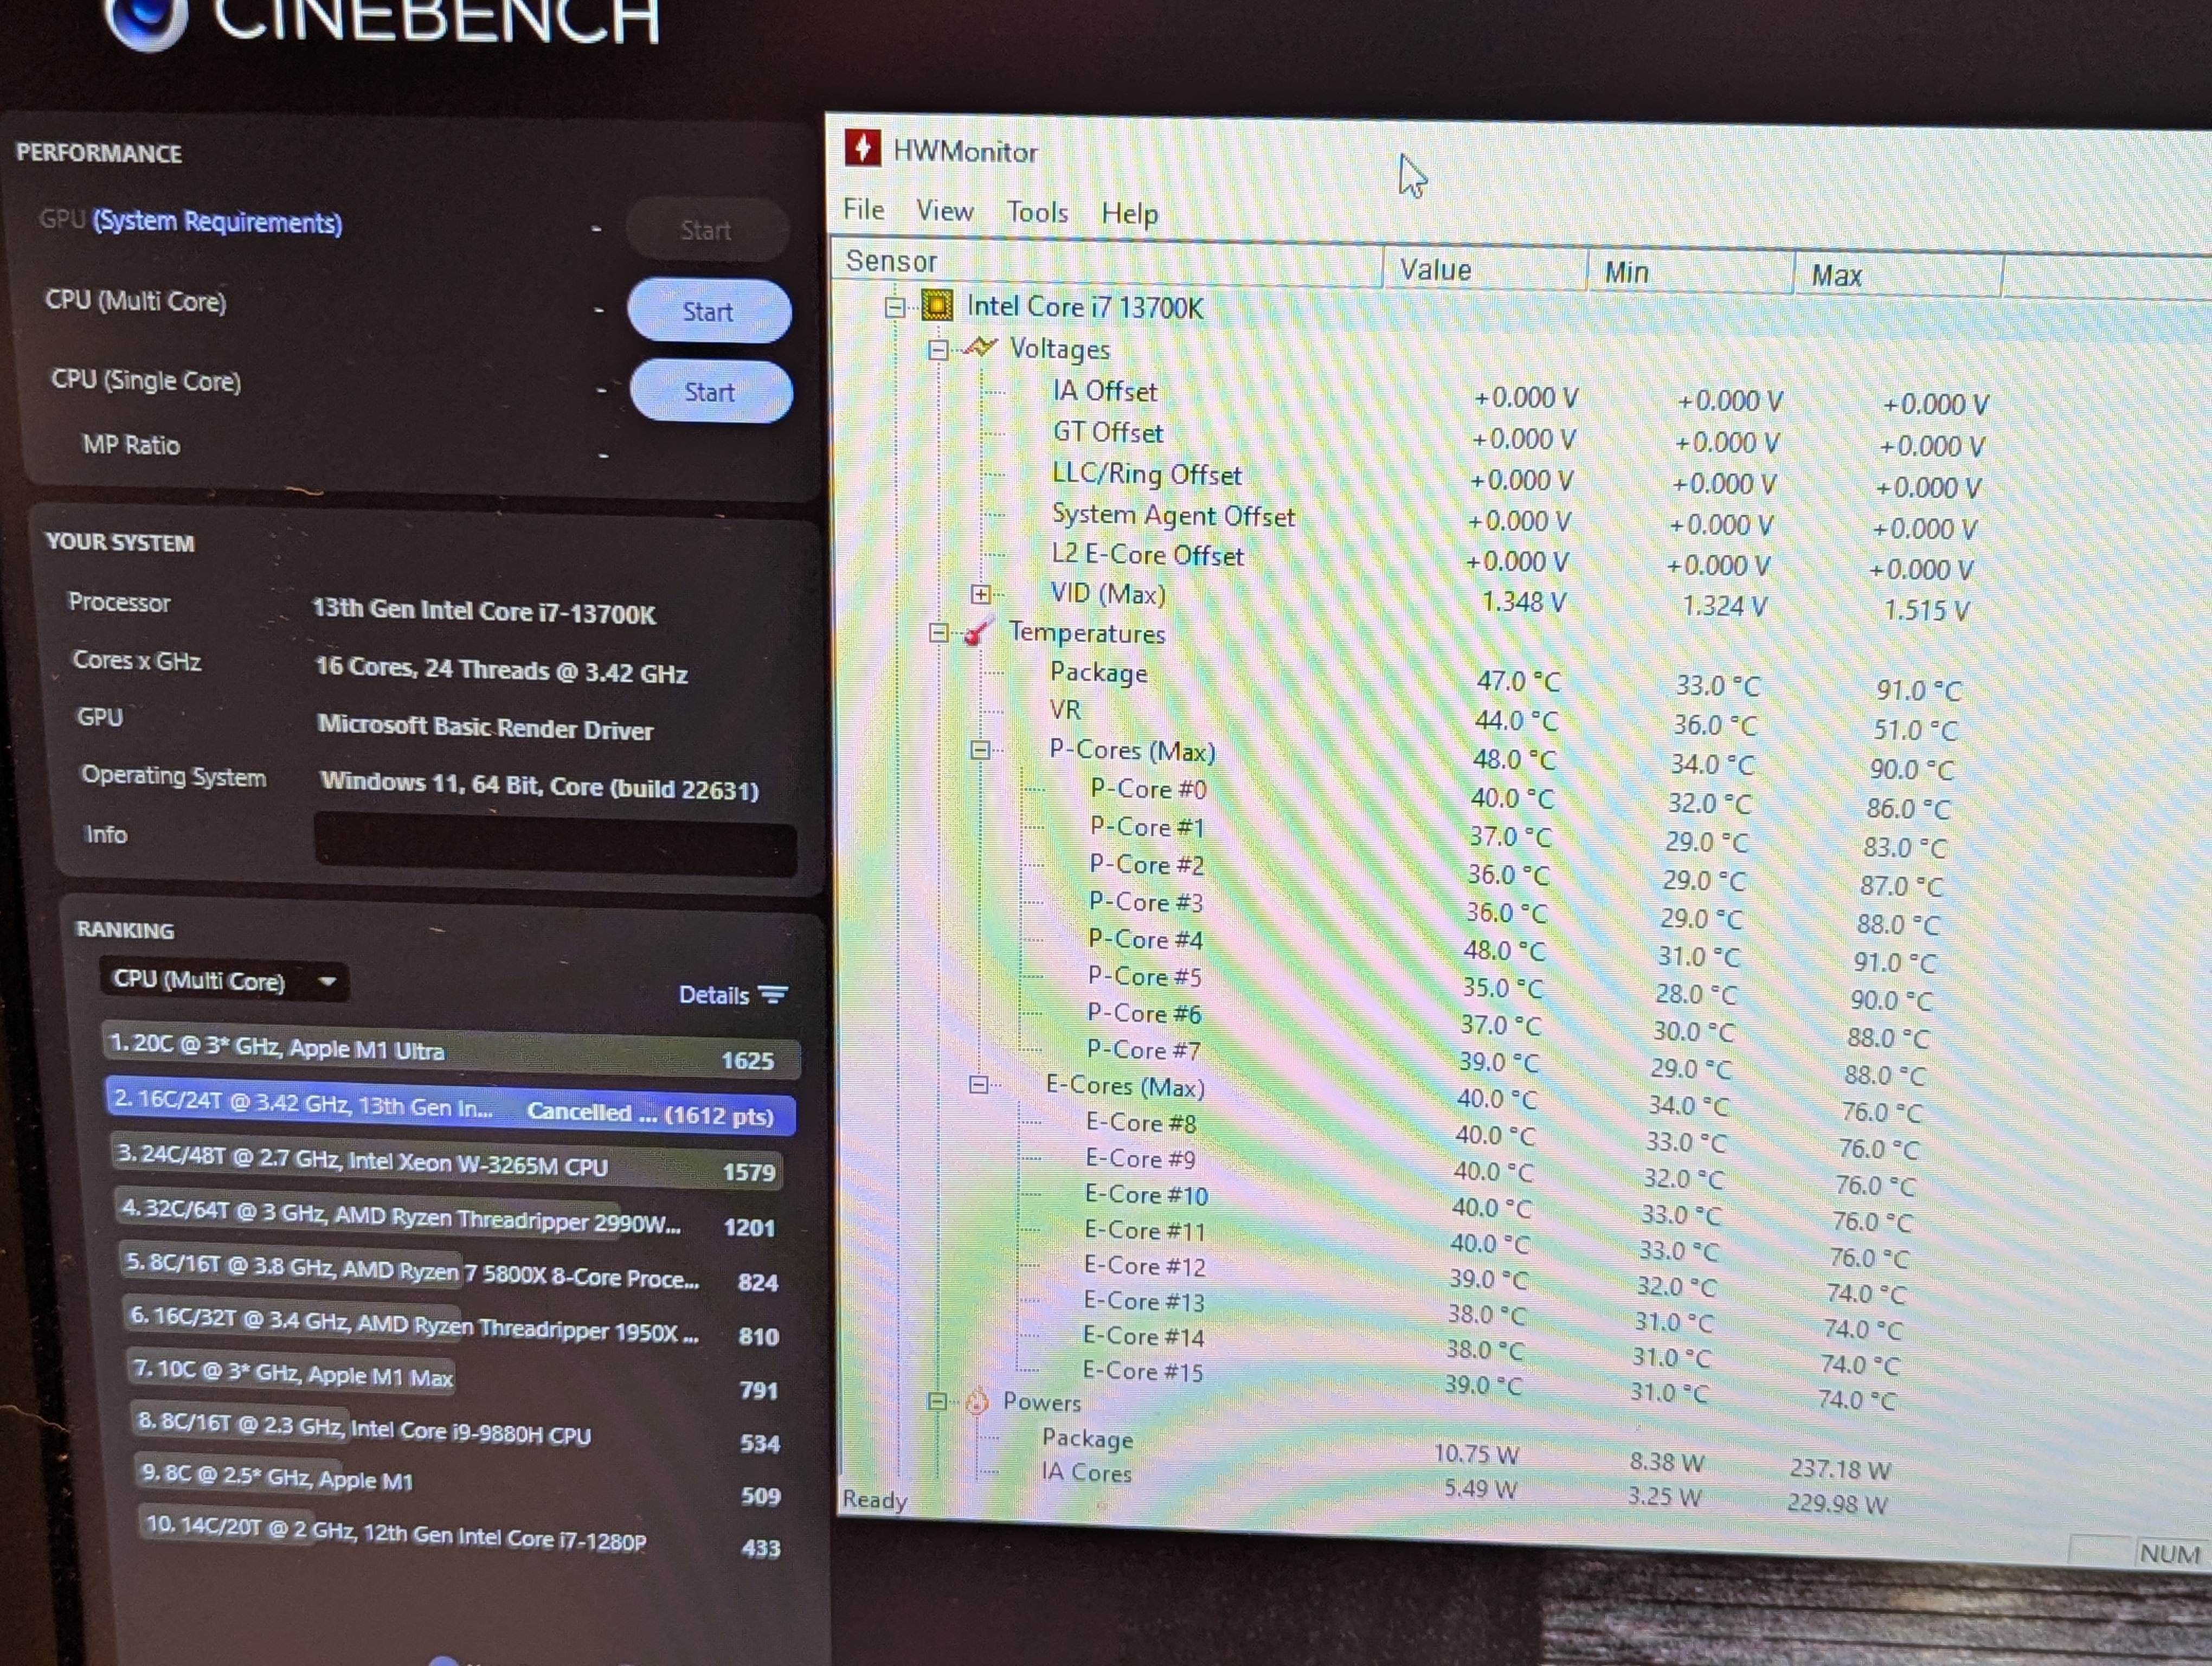
- Action: Applied a -0.075V undervolt.
- Cinebench Score: 1612
- P-Core Temperatures:
- Min: 83°C, Max: 91°C, Avg: 87.625°C
- E-Core Temperatures:
- Min: 74°C, Max: 76°C, Avg: 75°C
Step 4: Aggressive Undervolt (-0.10V)
Testing a more aggressive -0.10V undervolt.
Results:
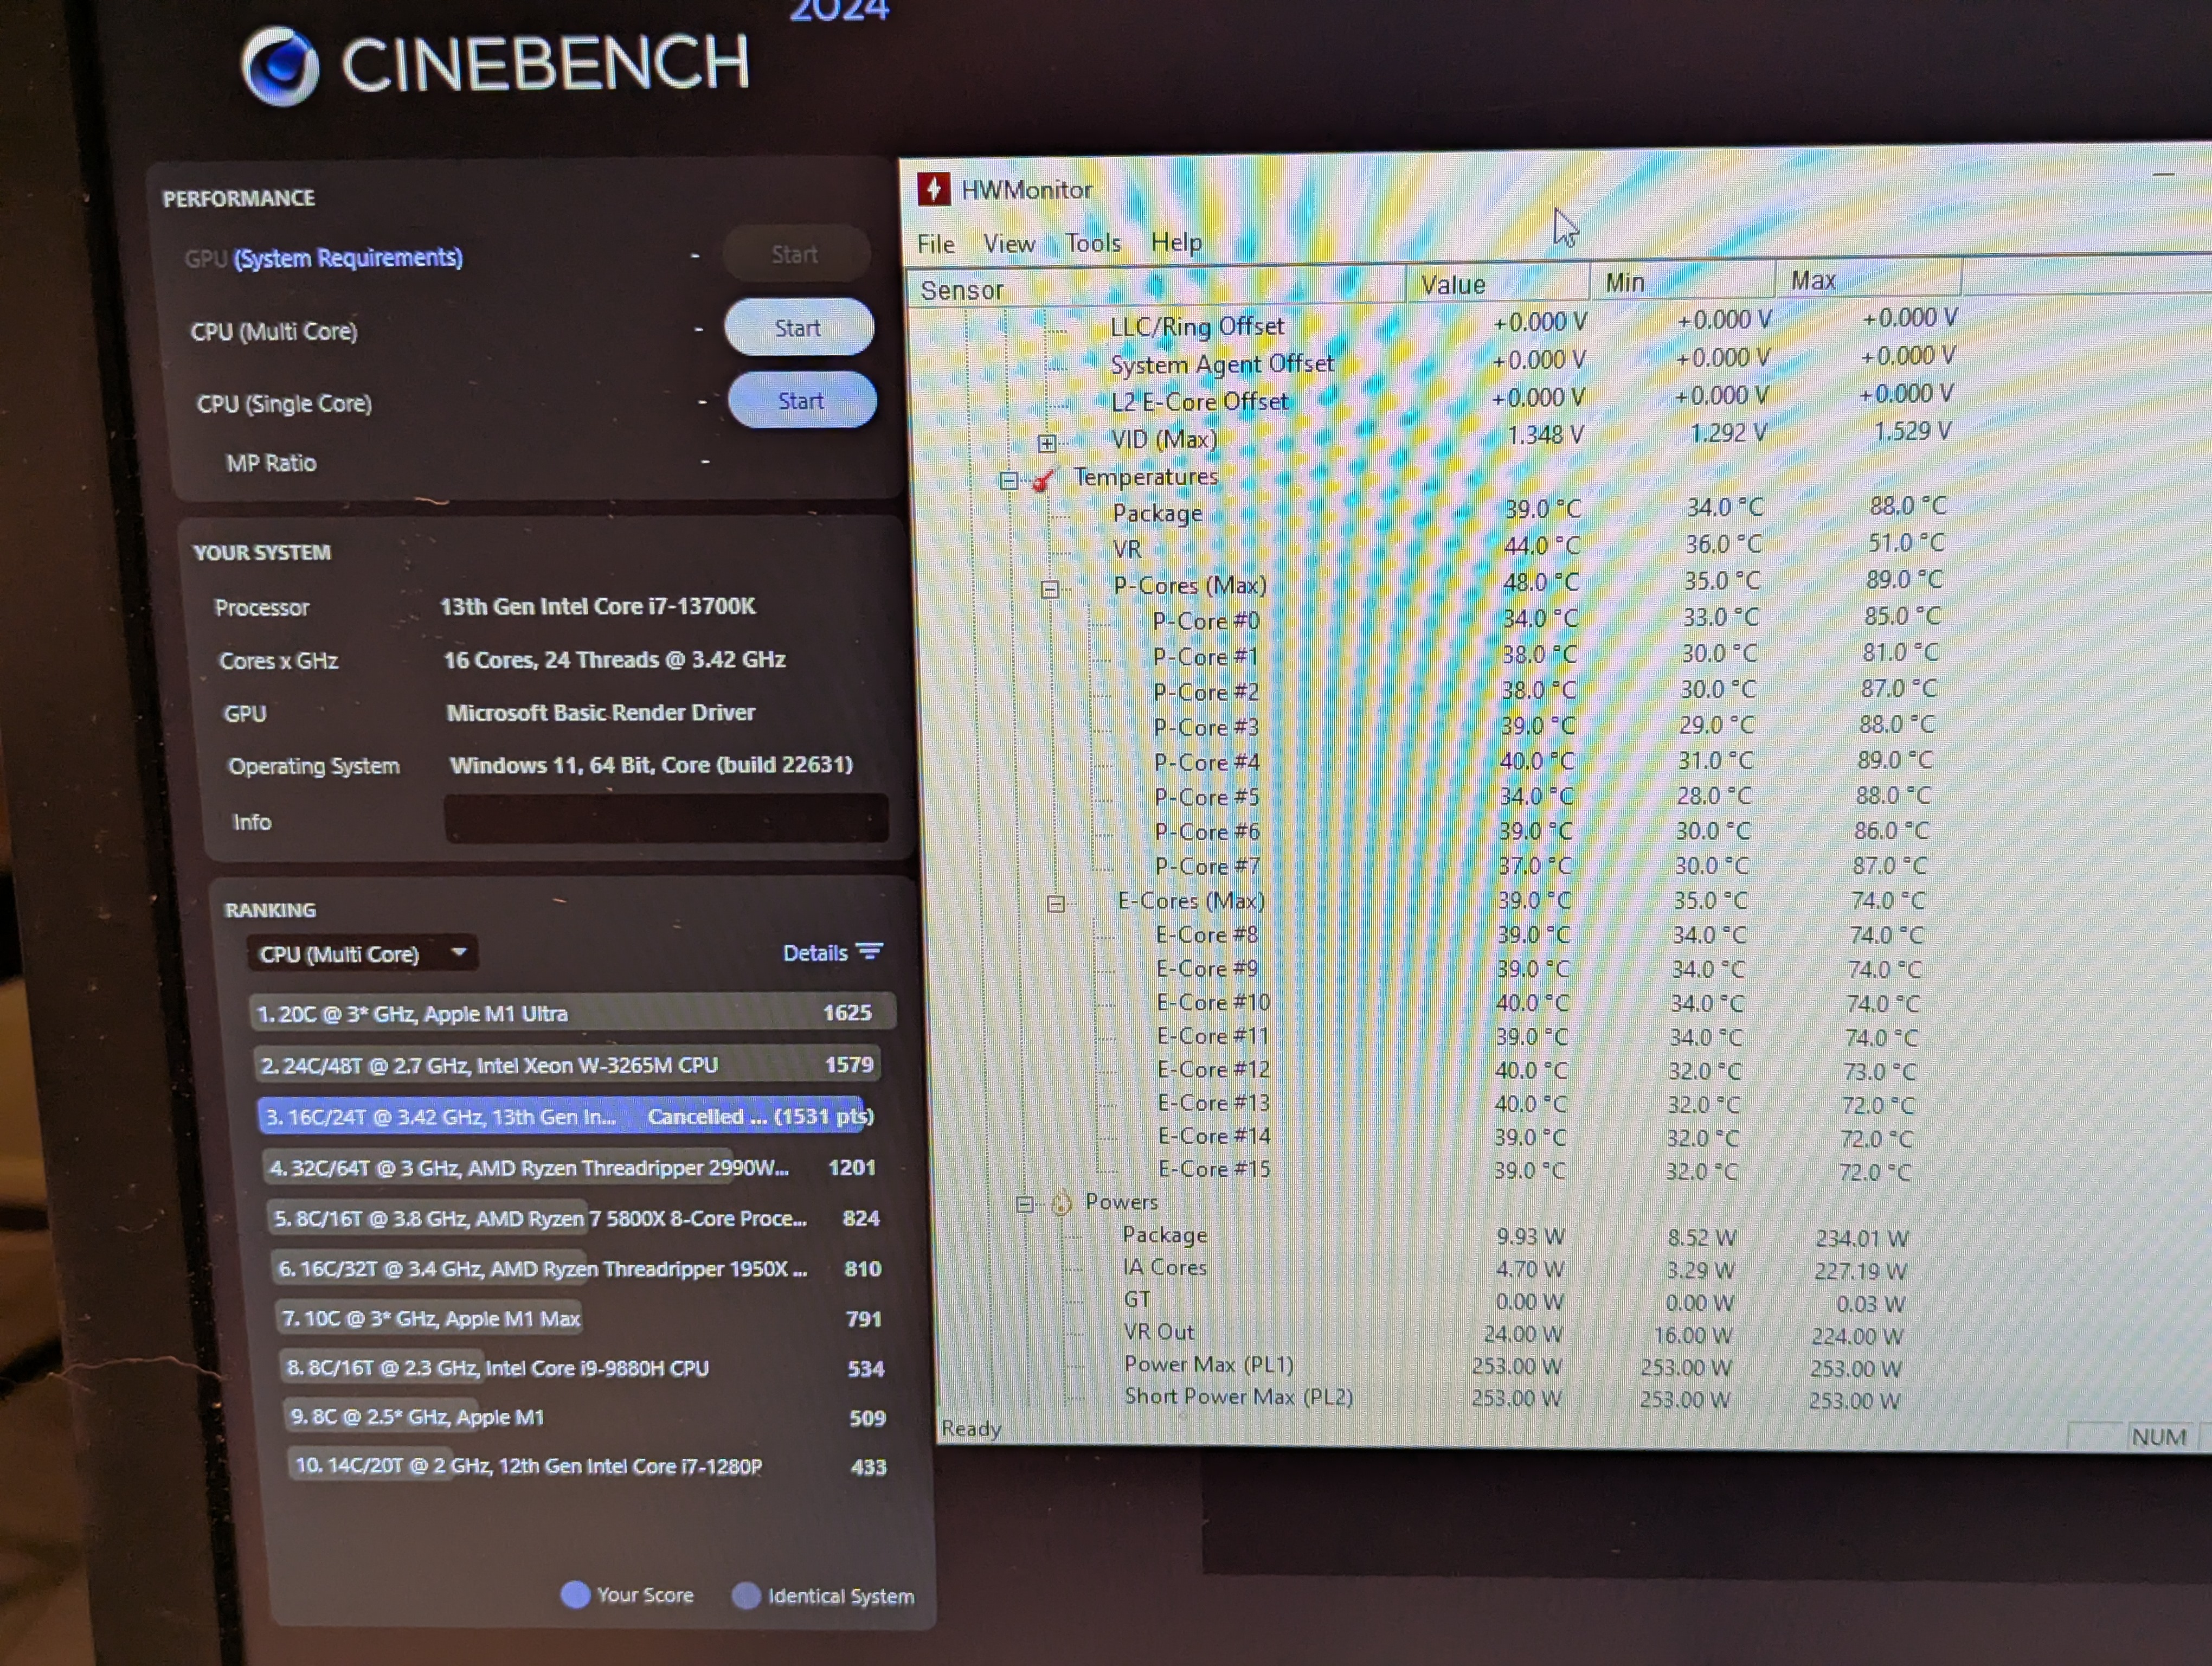
- Action: Applied a -0.10V undervolt. (Note: Stability might become a concern here for some chips).
- Cinebench Score: 1531
- P-Core Temperatures:
- Min: 81°C, Max: 89°C, Avg: 86.375°C
- E-Core Temperatures:
- Min: 72°C, Max: 74°C, Avg: 73°C
It’s important to test stability thoroughly at each undervolting step. What works for one CPU might not work for another, even of the same model.
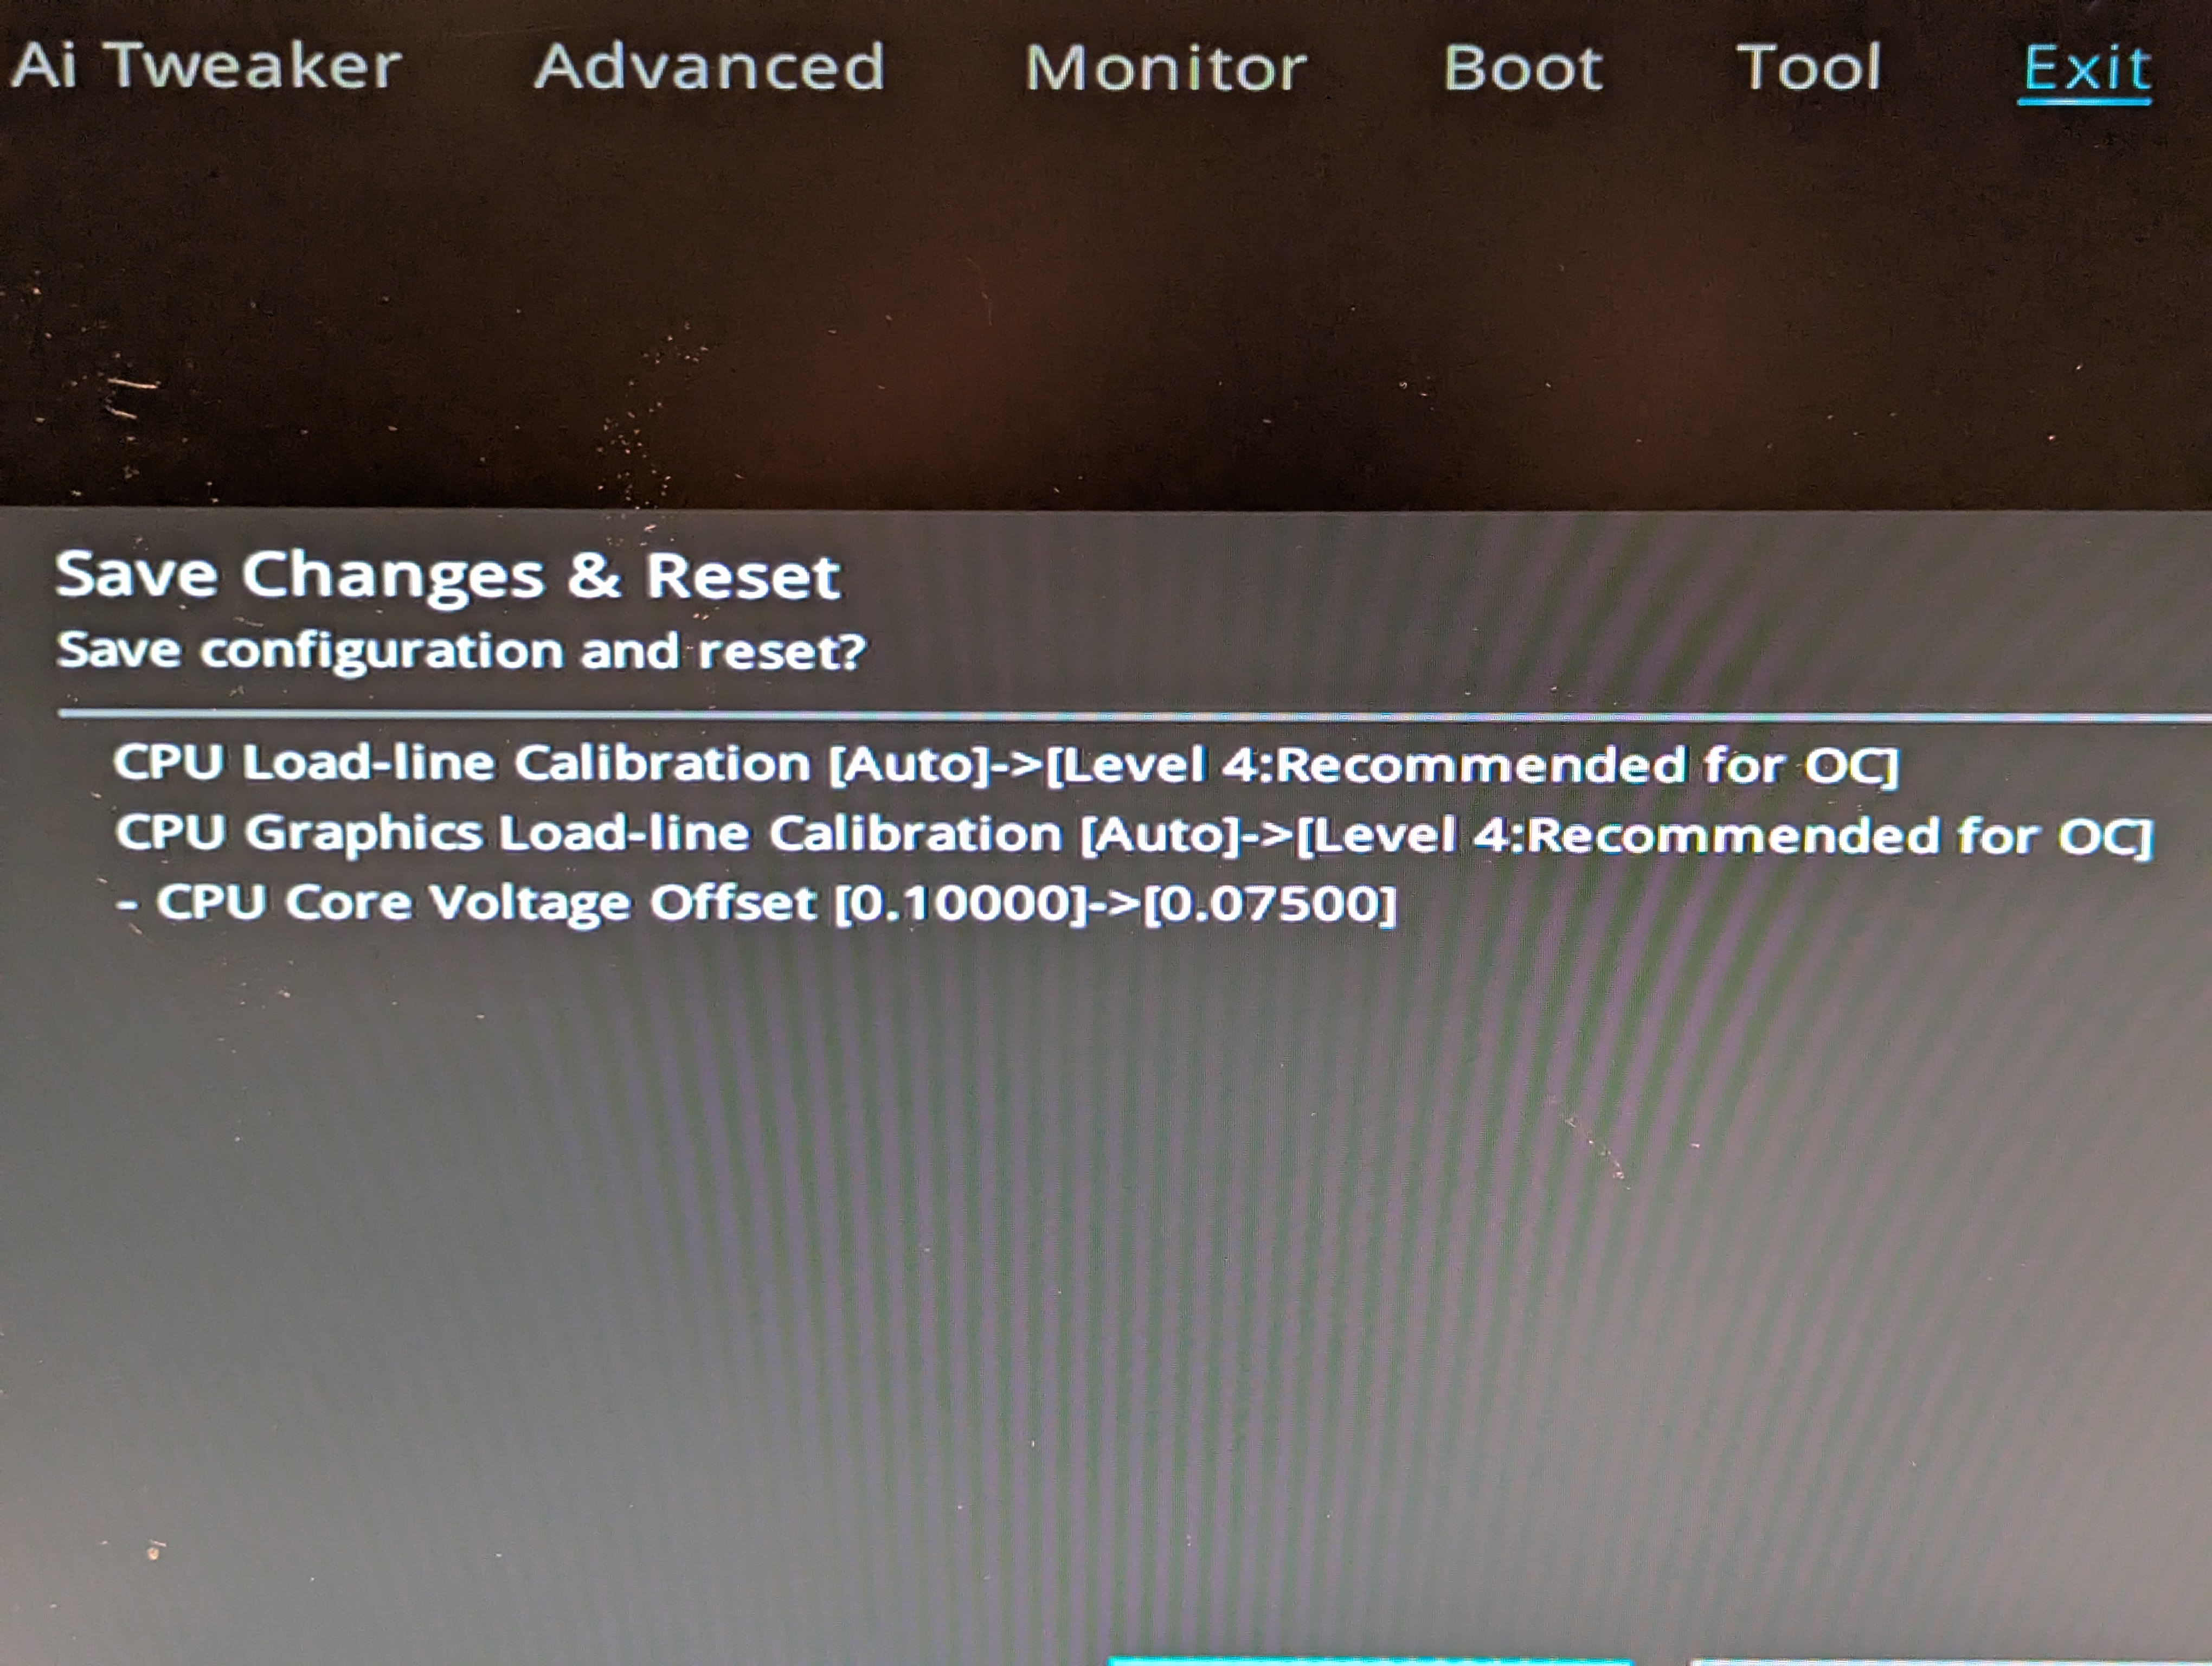
Step 5: Introducing Load Line Calibration (LLC 4, -0.075V)
After finding a sweet spot for undervolting (or perhaps rolling back slightly for stability), Load Line Calibration (LLC) was adjusted. LLC affects how much the voltage droops under load. Here, LLC was set to Level 4 with the -0.075V undervolt.
BIOS Settings:
Results:
- Action: Set LLC to Level 4, returned to -0.075V undervolt.
- Cinebench Score: 1632
- P-Core Temperatures:
- Min: 86°C, Max: 93°C, Avg: 90.875°C
- E-Core Temperatures:
- Min: 76°C, Max: 80°C, Avg: 78.125°C
Step 6: Refining Load Line Calibration (LLC 3, -0.075V)
Adjusting LLC to Level 3, keeping the -0.075V undervolt. Different LLC levels can interact with undervolting in complex ways.
BIOS Settings:

Results:
- Action: Set LLC to Level 3, maintained -0.075V undervolt.
- Cinebench Score: 1529
- P-Core Temperatures:
- Min: 83°C, Max: 92°C, Avg: 88.75°C
- E-Core Temperatures:
- Min: 74°C, Max: 78°C, Avg: 76°C
Step 7: Comprehensive Memory Tuning (LLC 3, -0.075V)
The final step involved extensive memory tuning alongside the established CPU undervolt and LLC settings. This often involves adjusting timings, frequency, and voltages for the RAM.
BIOS Settings (Part 1 - Summary of Changes):

BIOS Settings (Part 2 - More Changes):

Final Results:
- Action: Applied extensive memory tuning, kept LLC at Level 3 and -0.075V undervolt.
- Cinebench Score: 1709
- P-Core Temperatures: 77-84°C
- Min: 77°C, Max: 84°C, Avg: 80.5°C
- E-Core Temperatures: 70-73°C
- Min: 70°C, Max: 73°C, Avg: 71.5°C
Conclusion: The Undervolting Payoff
The demise of my first i7-13700K was a costly lesson, but it led to a valuable discovery. Undervolting, when done carefully, is not just about reducing heat; it can genuinely unlock extra performance by allowing the CPU to sustain boost clocks for longer or more consistently, all while running cooler and consuming less power.
If you’re running a modern high-performance CPU, especially an Intel K-series chip, I highly recommend exploring undervolting. Start conservatively, test thoroughly at each step, and you might be surprised by the results. Your CPU (and your electricity bill) might thank you!
Disclaimer: Modifying BIOS settings, including voltages and frequencies, carries risks. Proceed with caution, do your own research, and understand that results may vary. The author and this website are not responsible for any damage to your hardware.